
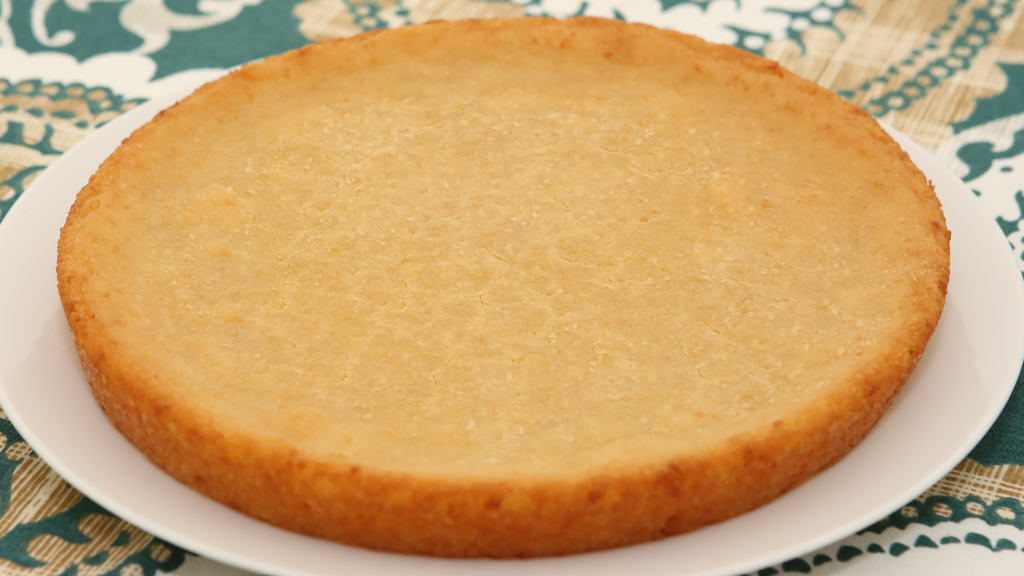
Deliciously starchy cassava (yuca or manioc) is combined with creamy coconut milk and fragrant mung bean to make this scrumptious Cassava Cake (Banh Khoai Mi Nuong). My recipe makes a simple batter that when baked yields a golden cake that is moist, slightly chewy and just sweet enough. Cut the cake into small pieces and enjoy as finger-food. It makes a perfect little snack or a casual dessert. Enjoy!
Notes on the Cassava Cake (Banh Khoai Mi Nuong) Recipe, Tips and Tricks
Use fresh or frozen cassava. Frozen cassava is really convenient but fresh cassava definitely tastes better. See my video for how to prepare fresh cassava.
Be sure to mix the mashed mung well so there aren’t big chunks in the batter. Optionally, use an electric mixer to get the batter smooth.
If you’d like a chewier texture, add another 1-2 Tbsp tapioca starch.
This cake is medium in sweetness. Adjust the sweetness to your preference. Optionally, use a sugar substitute.
If you don’t want to add the mashed mung bean, add more grated cassava to make up the difference.
Line the cake pan with parchment paper to make removing the cake a cinch.
The cake will deflate when it cools and this is normal.
Store any remaining portions in the refrigerator and consume within the week. To reheat, warm the cake in the microwave for 15-20 seconds. You can freeze the cake for up to 3 months when stored in an air-tight container.
Watch the video for instructions.
If you enjoy this Cassava Cake (Banh Khoai Mi Nuong) recipe, you may also like: Pumpkin Cassava Cake (Banh Khoai Mi Bi Do), Silkworm Cassava Cake (Banh Tam Khoai Mi), and Steamed Banana Cake (Banh Chuoi Hap).
Cassava Cake / Banh Khoai Mi Nuong
Ingredients
1 lb frozen grated cassava, thawed
1/2 cup mashed mung bean
3/4 cup sugar
3 Tbsp tapioca starch
1 cup coconut milk
1/2 tsp vanilla extract
1/2 tsp vegetable oil
1/2 tsp melted butter
Directions
Preheat the oven to 375 degrees Fahrenheit.
Transfer the thawed cassava into a colander and allow to drain for 15 minutes.
In a large bowl, add the drained cassava, mashed mung bean, sugar, tapioca starch, coconut milk and vanilla extract. Mix well making sure the batter is free of lumps.
Coat a 9-inch round pan evenly with vegetable oil.
Pour the batter into the oiled baking pan. Holding the sides of the pan, jiggle the pan gently and tap on the counter a few times to settle the batter.
Bake for 40 minutes.
Check to see if the cake is done by inserting a toothpick. It should come out clean.
Brush the top of the cake with melted butter.
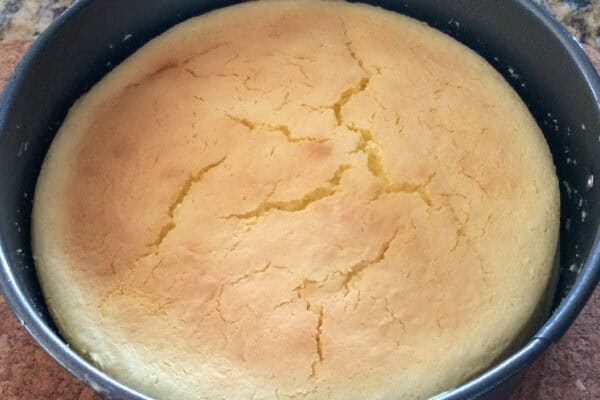
Bake on 425 degrees Fahrenheit for 5-7 minutes or until the cake is golden on top.
Remove from the oven and allow to cool for 1 hour.
Run a spatula around the cake to loosen it from the pan. Remove the cake from the pan using a large spatula.
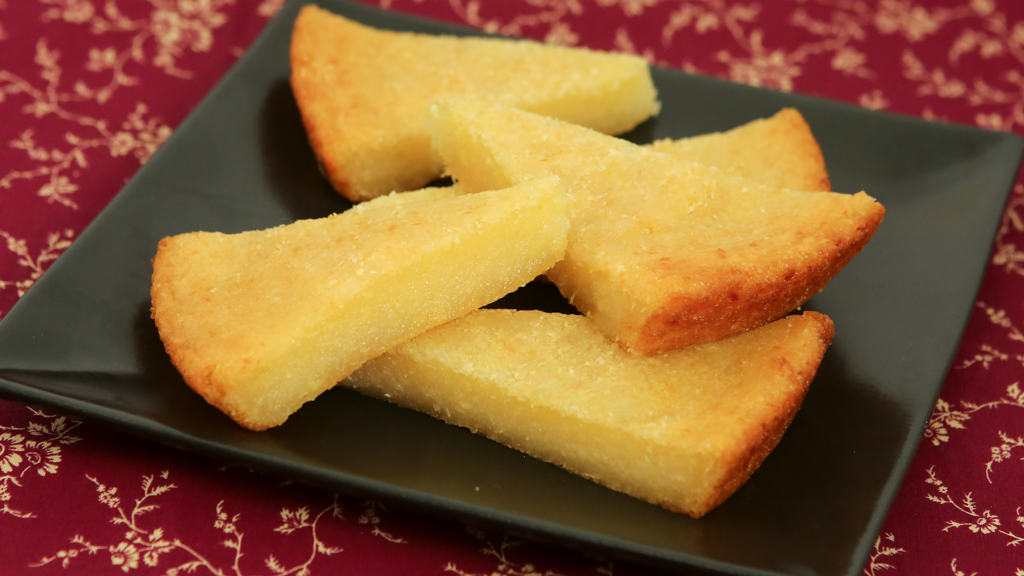
To serve, cut into small wedges or bite-sized pieces.
Yields: 4-6 servings


Thank you for the recipe. It turned out great.
Hi Lan,
So glad to hear that! Thanks for stopping by to share your results!
I don’t know why my cassava isn’t sticky and cluey. I put in 1 cup blended cassava and hoping that was not the issue. How did you made your cassava? I bought the frozen cassava from the Asian store. Do I have to reheat it or boil it up somehow? The texture looks very nice but the inside was mushy, I don’t know what I did wrong ☹️ This will be my very first cassava cake.
Hi Moa Hoang, grated cassava is somewhat mushy and not sticky or gluey. The rest of the ingredients will bind everything together. Good luck with the cake and let me know how it turns out for you. 🙂
Hi Trang,
Thank you for your helpful recipe. Can I also put the condense milk and sugar as well?. Love to hear from you. Thanks
Hi Huong,
You can definitely use condensed milk for a richer flavor. Start with 1/2 cup condensed milk and add the amount of sugar you like. Let me know how you like it!
Hi Trang,
I love this cake since VN. I’ve tried once, friend recipe,but didn’t come out right. I’ll try yours this week end.
Thanks!
Good Luck with the recipe. I hope it turns out well for you. I am looking forward to hearing about your results. 🙂
Hi Trang,
I love this cake, but it’s getting harder and harder to find a good piece 🙁 I saw the fresh khoai mi at the market, decided to buy a few so I can try making it myself BEFORE looking up the recipe. Well, most recipes used frozen. I saw your video how to prepare the fresh khoai mi, but how much should I use for this recipe? I’m guessing 1.5 cup? I don’t have a food weight so I would be much appreciated if you have the measurement in cup. Thank you so much.
Can’t wait to try.
Hi Linh,
Your guess is correct. 1 lb of grated cassava is about 1 1/2 cups. Good Luck with the recipe and please stop back to share your results. 🙂
Can I not put the mubg bean,in?
You can omit the mung bean, just add more grated cassava to make up the difference. Enjoy!
where or who do I get mashed mung bean for cassava cake?
Hi Kay,
You can buy it at the Asian grocery store or make it with the recipe I shared. The recipe link for the Mash Mung Bean is in the post. Good Luck
Hi Trang,
Thanks for sharing, I love this dessert. I will try to make it this weekend.
Hi Kiet,
Good Luck with the recipe and let me know how it turns out for you. Enjoy!
I love your videos. Tried a few recipes already and they all turned out great. Will make this weekend. Thank you
Hi Lynn, I am happy to hear that. This recipe be super easy for you. Enjoy!
OMG!!!! I was just thinking that I would love it if you posted a recipe for this! I know you do a pumpkin version, but to see the original makes me super happy! Will definitely give this a shot! THANK YOUUUUUUU!
Hi Ann,
Wow! What a coincidence! I’d love to hear from you when you make this scrumptious cake. Good Luck! 🙂