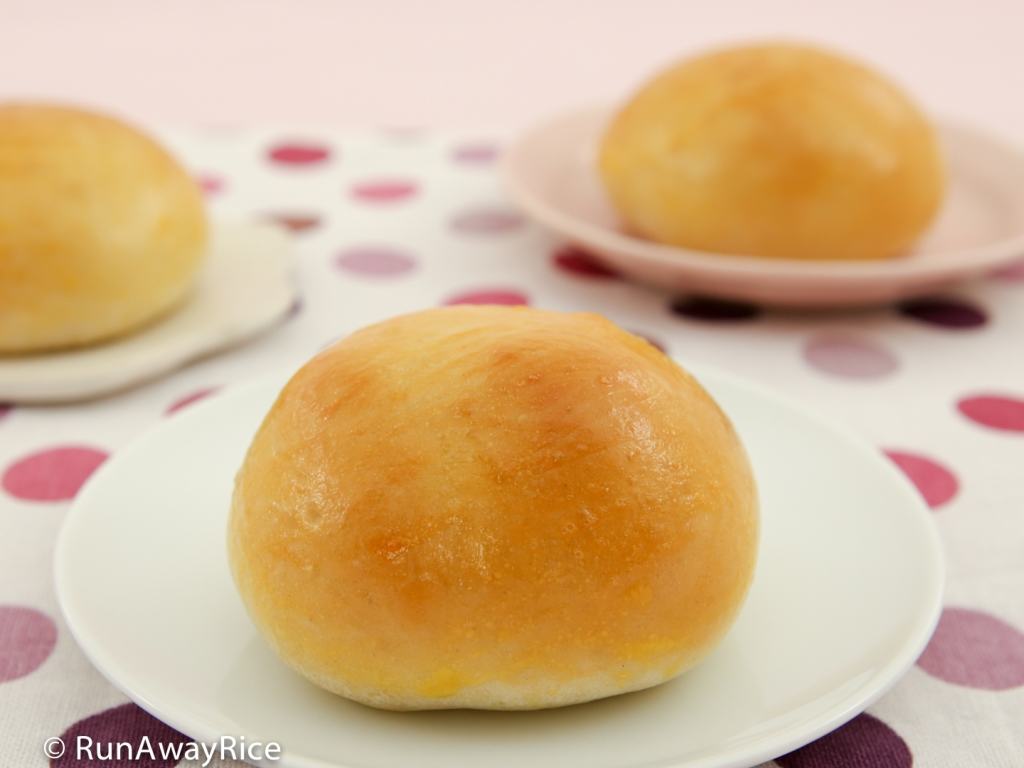
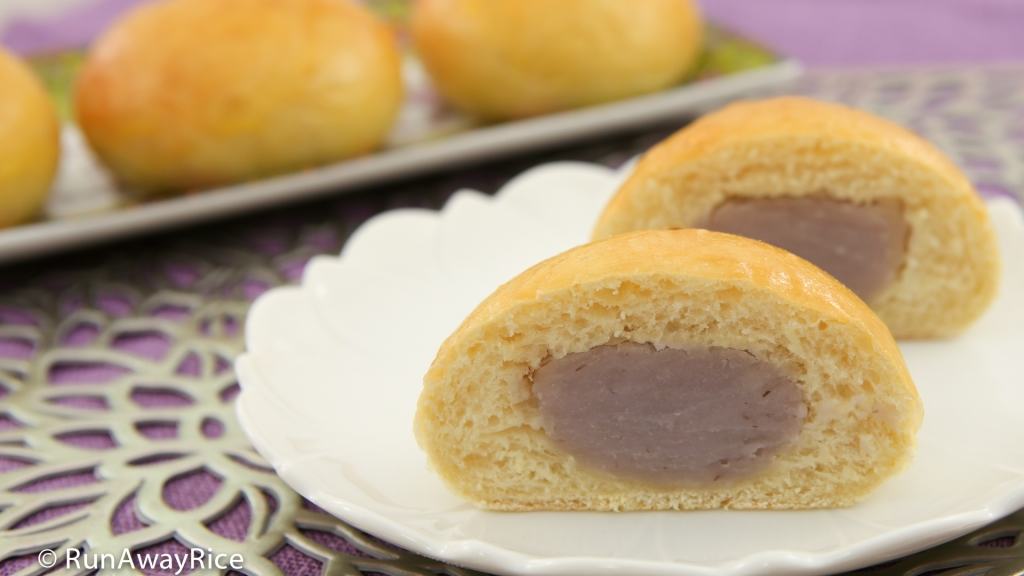
This recipe for sweet Taro Buns (Banh Mi Ngot Nhan Khoai Mon) makes light, fluffy buns with a creamy taro root filling. Baked until golden brown, the buns are easy to make and a perfect treat any time of the day. The delicate, soft bread coupled with the hearty taro root filling is a wonderfully tasty combination. Unlike most bakery-style buns which can be overly sweet, these homemade Taro Buns have just the right amount of sugar.
This basic sweet dough recipe is straightforward and super versatile. Use this sweet dough to make buns with a variety of sweet and savory fillings. Here are some of my favorite filling options: seasoned ground chicken or pork and roast pork. Some delicious sweet fillings are: creamy custard, sweet mung or red bean, cream cheese and fruit jam.
These Taro Buns make a tasty quick breakfast or awesome school or work snacks. Make these for the kiddies’ lunchboxes and they will devour them. Some filling options the little ones will love is: ham and cheese, peanut butter and jelly and hot dogs. Use the dough to make pigs in a blanket.
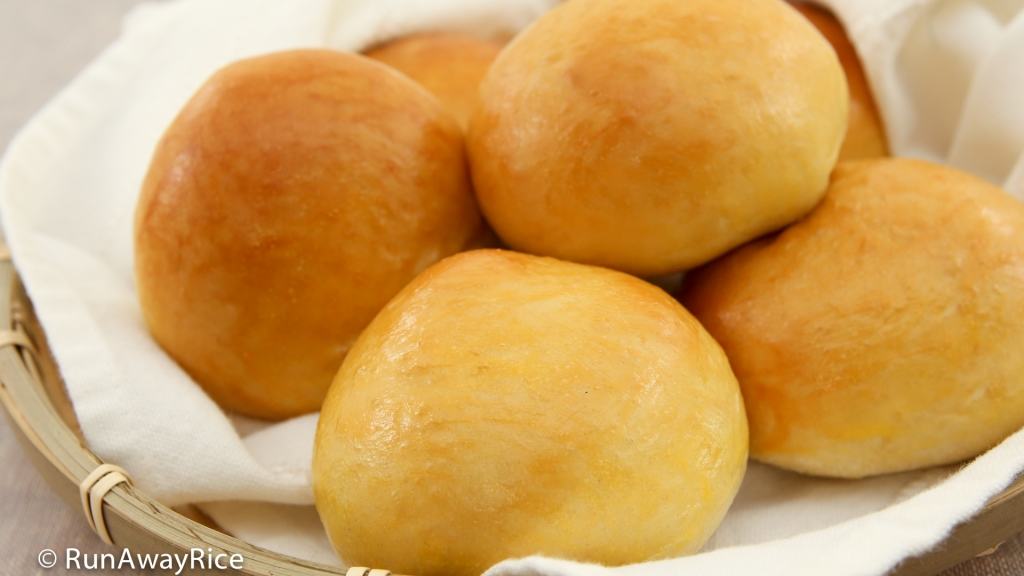
Keep it really simple and skip the filling. Use the dough to make dinner rolls. They’re fluffy good and a tasty addition to any meal. I also like to use the dough to make crescent rolls. They’re a lot lighter the traditional croissant-style pastries and I love enjoying these rolls with a cup of coffee in the mornings.
The possibilities are endless with this recipe! If you have a sweet bun creation you’d like to share, leave a comment for me below. I’ll share your recipe idea here! 🙂
 Jump to Video Jump to Recipe Card
Notes on the Taro Buns Recipe, Tips and Tricks
This dough should be soft and moderately sticky. During mixing, if the dough is too wet or too dry, add more flour or water, 1 Tbsp at a time and mix together. It is common for the dough to stick to the bottom of the mixing bowl. As long as the dough holds its shape and doesn’t ooze, then it’s not too wet. At the same time, avoid adding too much flour which results in a dry and heavy bun.
The dough resting times may varying depending on the air temperature. It typically takes about 1 1/2 hours for the dough to double in size when the air temperature is approximately 72 F (22 C). To speed up the process, use a warm oven. Turn on the oven light or warm the oven and then turn off heat.
Avoid using too much flour when working with the dough and rolling into buns, just a light dusting is needed. The dough should be moderately sticky. Don’t over-shape the buns. Work quickly and make rough buns. During the second resting period, the buns will rise evenly into nice, round buns.
While the dough is resting, make the taro root filling. Optionally, make the taro root filling the day before and have ready. If the taro filling is difficult to spread, warm in the microwave for 30 seconds.
Use either the large taro root or the small potato-like ones. The smaller taro roots have a starchier texture. When using the smaller root, I like to strain the mashed taro root to get a smoother texture.
When cooking the taro root filling, cook just until it thickens into a pudding. Once cooled, it will thicken further. When enjoying the buns, the taro root filling should be soft and creamy and not solid and chunky.
Place a tray of hot water on the bottom oven rack. This generates steams and keeps the buns moist during baking. This trick is great for getting a soft, moist texture for any baked goods.
Store the buns at room temperature for 1-2 days. After this time, refrigerate and they are good for up to 1 week. To reheat, warm in the toaster oven or microwave on Low power for 20-30 seconds. The Taro Buns can be frozen for up to 3 months.
If you enjoy this Taro Buns (Banh Mi Ngot Nhan Khoai Mon) recipe, you may also like:
Baked Pork Buns (Banh Bao Nuong)
Taro Buns / Banh Mi Ngot Nhan Khoai Mon
Ingredients
Filling
8 oz taro root, peeled and cleaned
3 cups water
1 Tbsp corn starch + 2 Tbsp water
1/4 cup sugar
1 tsp vanilla sugar
1/4 tsp salt
purple food coloring
Dough
1 tsp vegetable oil
1/4 cup hot water, 100-110 F (38-43 C)
2 1/4 tsp active dry yeast + 1 tsp sugar
2 1/2 cups all-purpose flour
1/4 cup sugar
1/2 tsp salt
1/2 cup whole milk, room temperature
1 large egg
2 Tbsp unsalted butter, room temperature
Egg Wash
1 large egg yolk
1/2 Tbsp water
Directions
Making the Taro Root Filling
Cut the taro root into small pieces. Transfer into a medium pot and add 3 cups water. Cover and bring to a boil over High heat. Stir together and then reduce the heat to Low. Cover the pot again and cook for 15 minutes or until the taro root is soft. Pour out the cooking liquid saving 1/3 cup. Add the 1/3 cup liquid back to the taro root. Using a hand mixer, whip the taro root until smooth and creamy, approximately 1 minute. Transfer to a large non-stick pan.
In a small bowl, combine the corn starch with 2 Tbsp water. Whisk until smooth.
To the whipped taro root, add the sugar, vanilla sugar and salt and combine together. Add the corn starch mixture and stir together. Cook over Medium Low heat, stirring frequently, until the taro root thickens into a pudding, approximately 10-15 minutes. Turn off the heat. Add the purple food coloring and mix together well. Transfer to a clean bowl, cover with plastic wrap and allow to cool.
Making the Dough
Add vegetable oil into a large bowl. Brush the oil coating the inside of the bowl completely.
In a small bowl, add the hot water, active dry yeast and 1 tsp sugar. Combine together. Let rest for 10 minutes or until the yeast mixture is foamy.
In a mixing bowl, add the all-purpose flour, 1/4 cup sugar and salt. Using the dough hook, mix on Low speed for 15 seconds. Add the yeast mixture and milk. Lightly beat the egg and add. Add the butter. Mix on Low speed. During the first minute, scrape around the bowl using a spatula and push the dry ingredients toward the center. (The dough should start to form after 2 minutes.) Continue mixing for a total of 8 minutes.
Shape the dough into a rough ball and place into the oiled bowl. Coat the dough with more vegetable oil. Cover the bowl with plastic wrap. Place into the oven and let rest until the dough doubles in size, approximately 1 1/2 to 2 hours.
Lightly flour the work surface. Transfer the dough and then sprinkle more flour on top. Knead the dough for 2-3 minutes.
Making Round Buns
Shape the dough into a log about 12 inches long. Cut into 12 equal pieces and shape each piece into a rough ball. Cover the dough with plastic wrap to keep it from drying.
Take a dough ball and flatten it slightly with your fingers. Use a rolling pin, flatten into a 3 inch circle. Use a cookie scoop and transfer 1 1/2 Tbsp taro filling and place in the center of the dough. Gather up the dough enclosing the filling ball. At the top of the ball, pinch the dough together and then twist. Place the twisted-end facing down on the work surface. To smooth and shape the bun, cup your hand around the ball and rotate in a circular motion for about 10 seconds. Pat and rotate the ball between your palms to round out the bun. Transfer the buns to a large baking sheet. Continue with the same steps until all buns are made. Cover with a damp towel and let rest for 30 minutes.
Making Rolled Buns
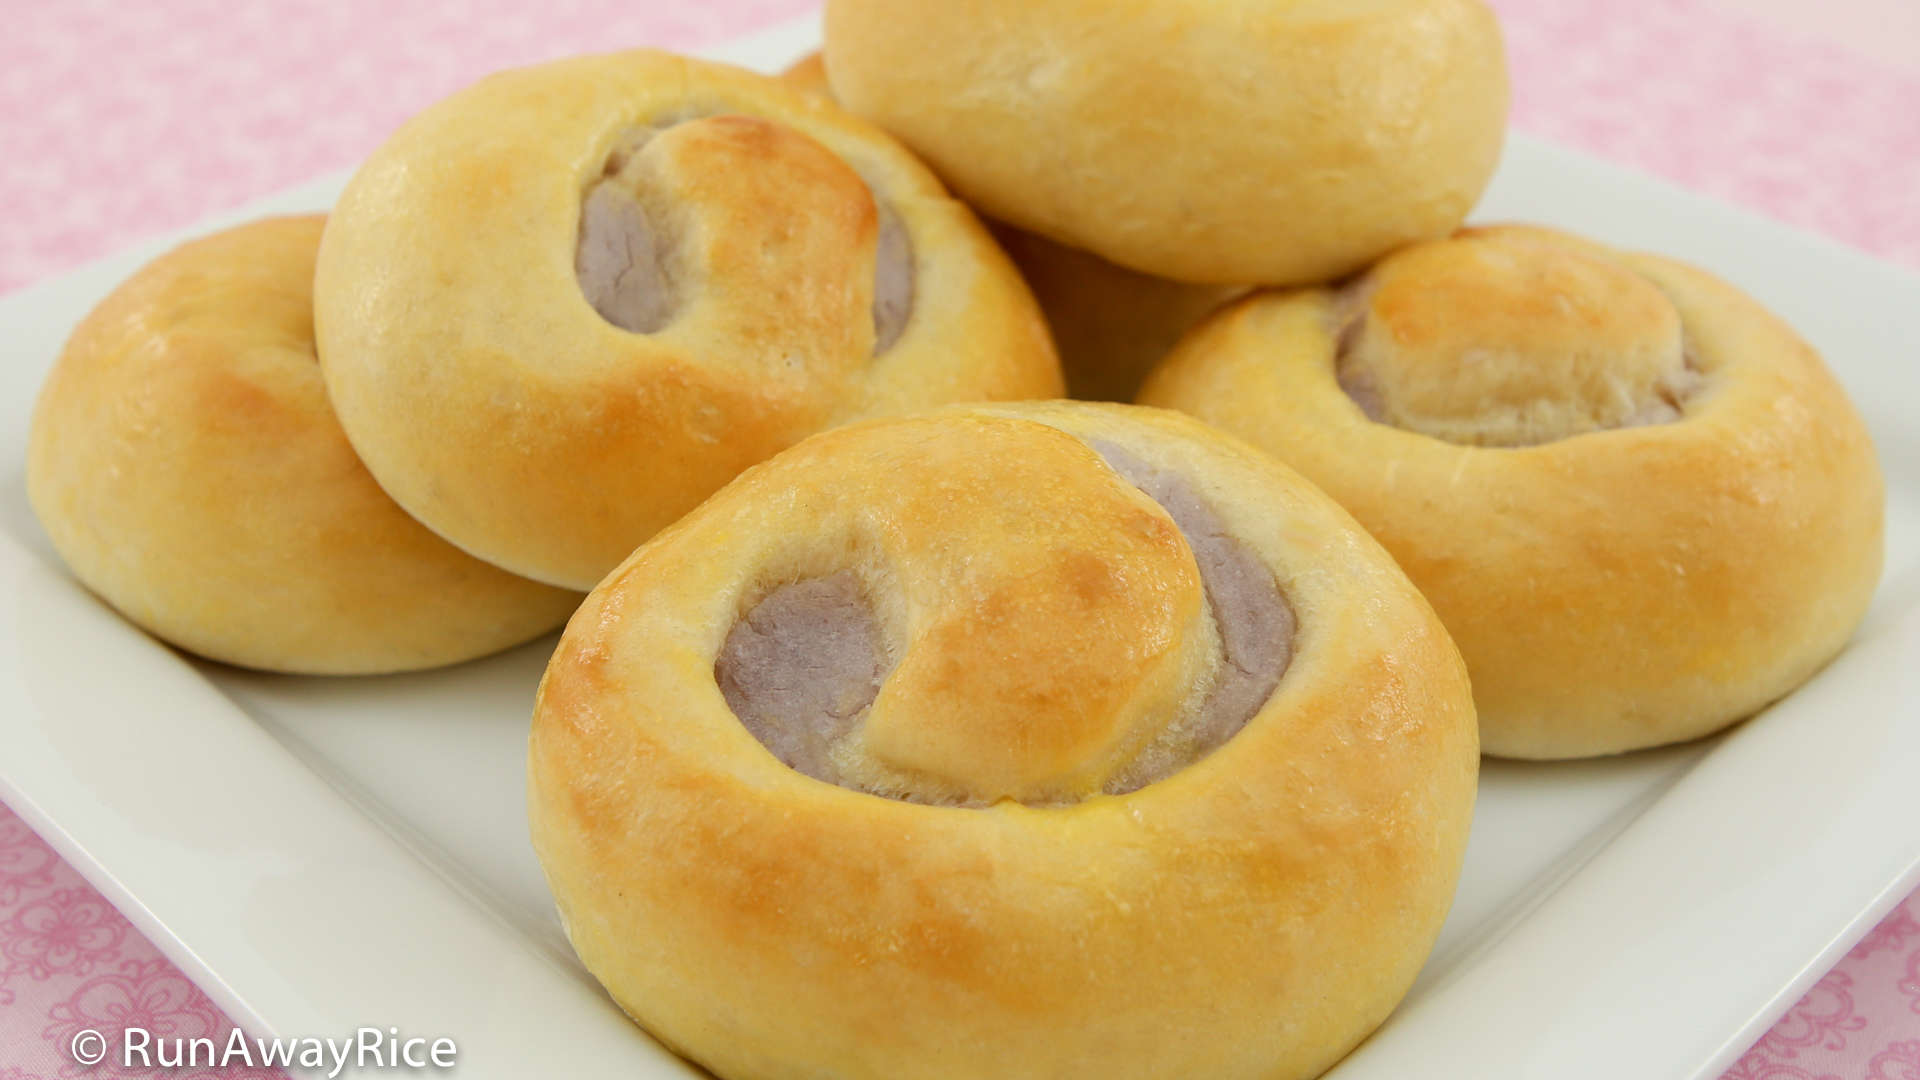
Cut the dough in half and flatten each half into a rectangle approximately 10 inch x 6 inch and 1/4 inch thick. Divide the taro filling in half and spread onto each section of dough. Wet your finger and dab along the top edge of each section of dough. Using medium pressure, roll up the dough making 2 logs. Seal each roll by pressing down on the edge moistened with water. Cut each log into 6 equal pieces. Pat each section into a round bun. Transfer to a large baking sheet. Cover with a damp towel and let rest for 30 minutes.
Making the Egg Wash
Whisk together the egg yolk and water.
Baking the Buns
Preheat the oven to 350 F (176 C).
Place the buns into the oven and bake for 15 minutes. Remove from the oven and coat the buns with the egg wash. Return to the oven and bake at 400 F (204 C) for another 3-5 minutes or until golden brown. Transfer to a wire cooling rack and allow to cool.
Enjoy the Taro Buns warm or at room temperature.
Refrigerate remaining Tao Buns for up to 1 week. Freeze for up to 3 months.
Yields: 12 buns
Tools I Love and Use in My Kitchen
Taro Buns / Banh Mi Ngot Nhan Khoai Mon
This recipe for sweet Taro Buns makes light, fluffy buns with a creamy taro root filling. Baked until golden brown, the buns are easy to make and a perfect treat any time of the day. The delicate, soft bread coupled with the hearty taro root filling is a wonderfully tasty combination. Unlike most bakery-style buns which can be overly sweet, these homemade Taro Buns have just the right amount of sugar.
Ingredients
Filling
- 8 oz taro root , peeled and cleaned
- 3 cups water
- 1 Tbsp corn starch
- 2 Tbsp water
- 1/4 cup sugar
- 1 tsp vanilla sugar
- 1/4 tsp salt
- purple food coloring
Dough
- 1 tsp vegetable oil
- 1/4 cup hot water , 100-110 F (38-43 C)
- 2 1/4 tsp active dry yeast
- 1 tsp sugar
- 2 1/2 cups all-purpose flour
- 1/4 cup sugar
- 1/2 tsp salt
- 1/2 cup whole milk , room temperature
- 1 egg large
- 2 Tbsp unsalted butter , room temperature
Egg Wash
- 1 egg yolk large
- 1/2 Tbsp water
Instructions
Making the Taro Root Filling
-
Cut the taro root into small pieces. Transfer into a medium pot and add 3 cups water. Cover and bring to a boil over High heat. Stir together and then reduce the heat to Low. Cover the pot again and cook for 15 minutes or until the taro root is soft. Pour out the cooking liquid saving 1/3 cup. Add the 1/3 cup liquid back to the taro root. Using a hand mixer, whip the taro root until smooth and creamy, approximately 1 minute. Transfer to a large non-stick pan.
-
In a small bowl, combine the corn starch with 2 Tbsp water. Whisk until smooth.
-
To the whipped taro root, add the sugar, vanilla sugar and salt and combine together. Add the corn starch mixture and stir together. Cook over Medium Low heat, stirring frequently, until the taro root thickens into a pudding, approximately 10-15 minutes. Turn off the heat. Add the purple food coloring and mix together well. Transfer to a clean bowl, cover with plastic wrap and allow to cool.
Making the Dough
-
Add vegetable oil into a large bowl. Brush the oil coating the inside of the bowl completely.
-
In a small bowl, add the hot water, active dry yeast and 1 tsp sugar. Combine together. Let rest for 10 minutes or until the yeast mixture is foamy.
-
In a mixing bowl, add the all-purpose flour, 1/4 cup sugar and salt. Using the dough hook, mix on Low speed for 15 seconds. Add the yeast mixture and milk. Lightly beat the egg and add. Add the butter. Mix on Low speed. During the first minute, scrape around the bowl using a spatula and push the dry ingredients toward the center. (The dough should start to form after 2 minutes.) Continue mixing for a total of 8 minutes.
-
Shape the dough into a rough ball and place into the oiled bowl. Coat the dough with more vegetable oil. Cover the bowl with plastic wrap. Place into the oven and let rest until the dough doubles in size, approximately 1 1/2 to 2 hours.
-
Lightly flour the work surface. Transfer the dough and then sprinkle more flour on top. Knead the dough for 2-3 minutes.
Making Round Buns
-
Shape the dough into a log about 12 inches long. Cut into 12 equal pieces and shape each piece into a rough ball. Cover the dough with plastic wrap to keep it from drying.
-
Take a dough ball and flatten it slightly with your fingers. Use a rolling pin, flatten into a 3 inch circle. Use a cookie scoop and transfer 1 1/2 Tbsp taro filling and place in the center of the dough. Gather up the dough enclosing the filling ball. At the top of the ball, pinch the dough together and then twist. Place the twisted-end facing down on the work surface. To smooth and shape the bun, cup your hand around the ball and rotate in a circular motion for about 10 seconds. Pat and rotate the ball between your palms to round out the bun. Transfer the buns to a large baking sheet. Continue with the same steps until all buns are made. Cover with a damp towel and let rest for 30 minutes.
Making Rolled Buns
-
Cut the dough in half and flatten each half into a rectangle approximately 10 inch x 6 inch and 1/4 inch thick. Divide the taro filling in half and spread onto each section of dough. Wet your finger and dab along the top edge of each section of dough. Using medium pressure, roll up the dough making 2 logs. Seal each roll by pressing down on the edge moistened with water. Cut each log into 6 equal pieces. Pat each section into a round bun. Transfer to a large baking sheet. Cover with a damp towel and let rest for 30 minutes.
Making the Egg Wash
-
Whisk together the egg yolk and water.
Baking the Buns
-
Preheat the oven to 350 F (176 C).
-
Place the buns into the oven and bake for 15 minutes. Remove from the oven and coat the buns with the egg wash. Return to the oven and bake at 400 F (204 C) for another 3-5 minutes or until golden brown. Transfer to a wire cooling rack and allow to cool.
Serving and Storing
-
Enjoy the Taro Buns warm or at room temperature.
-
Refrigerate any remaining buns for up to 1 week. Freeze for up to 3 months.
Recipe Video
Notes, Tips & Tricks
- This dough should be soft and moderately sticky. During mixing, if the dough is too wet or too dry, add more flour or water, 1 Tbsp at a time and mix together. It is common for the dough to stick to the bottom of the mixing bowl. As long as the dough holds its shape and doesn't ooze, then it's not too wet. At the same time, avoid adding too much flour which results in a dry and heavy bun.
- The dough resting times may varying depending on the air temperature. It typically takes about 1 1/2 hours for the dough to double in size when the air temperature is approximately 72 F (22 C). To speed up the process, use a warm oven. Turn on the oven light or warm the oven and then turn off heat.
- Avoid using too much flour when working with the dough and rolling into buns, just a light dusting is needed. The dough should be moderately sticky. Don't over-shape the buns. Work quickly and make rough buns. During the second resting period, the buns will rise evenly into nice, round buns.
- While the dough is resting, make the taro root filling. Optionally, make the taro root filling the day before and have ready. If the taro filling is difficult to spread, warm in the microwave for 30 seconds.
- Use either the large taro root or the small potato-like ones. The smaller taro roots have a starchier texture. When using the smaller root, I like to strain the mashed taro root to get a smoother texture.
- When cooking the taro root filling, cook just until it thickens into a pudding. Once cooled, it will thicken further. When enjoying the buns, the taro root filling should be soft and creamy and not solid and chunky.
- Place a tray of hot water on the bottom oven rack. This generates steams and keeps the buns moist during baking. This trick is great for getting a soft, moist texture for any baked goods.
- Store the buns at room temperature for 1-2 days. After this time, refrigerate and they are good for up to 1 week. To reheat, warm in the toaster oven or microwave on Low power for 20-30 seconds. The Taro Buns can be frozen for up to 3 months.




These were so good! I subbed out the vanilla sugar for just normal sugar because i didnt have any but it still tasted good.
Can you freeze before baking?
Hello!
Can you substitute whole milk for 2% low fat milk? Also, I don’t have active dry yeast on hand, but do you think instant dry yeast will work for this recipe? Thank you
Hi my name is Lena I will try to make Taro bun next week if I don’t have machine can I use a hand it to knead for the dough let me know thank you
Yes Lena, you can knead the dough by hand.
Hi Chi Trang,
Please give me the link to your egg custard filling for the sweet buns. Thank you so much!
Hi em Hong,
Please refer to this post: http://runawayrice.com/appetizers/sweet-bread-buns-rolls/
and look for the Custard Buns recipe. Enjoy and please stop back to share your results. 🙂
I’ve been looking for this recipe. Can’t wait to try! Thanks so much chi Trang. Would it be Ok to mention this recipe on my blog?
Hi Amy,
Enjoy the recipe and you are welcome to mention this recipe in your blog. Send me a link when you’re done, I’d love to check it out. Happy Cooking!
Thank you so much for posting this recipe. My boyfriend loves them with ice cream.
Hi Kristy, that’s wonderful! So glad you and your boyfriend like the recipe. I haven’t tried the buns with ice cream but it sounds delish! 🙂
Hi Chi Trang. Been waiting for this recipe.
Can’t wait to get the ingredients and make them soon. Many thanks again and wish you and your family a Happy Easter!
Hi Hoa,
I hope you and your family enjoy this recipe. (It’s a favorite with my family.) Good Luck and please stop back to share your results. 🙂
Hi Trang, I am a novice baker and am so happy with how these turned out! My boys love these buns because they’re sweet. I love this recipe because it has healthy ingredients and the buns are not overly sweet like the bakery versions. I’ll be trying my hand with some of the filling options and will share my results. Thanks again!
Hi Christine,
I am so glad to hear you and your boys enjoyed this recipe. This recipe is super easy and you’ll have fun trying different filling variations. Enjoy!
OMG! I’m so excited to try this recipe!! Thank you so much!!
Hi Ann,
I hope you love the recipe and I look forward to hearing about your results. 🙂