I finally bought one and in this post, I share my favorite FoodSaver uses. After a year of having this little appliance on my kitchen counter and using it every chance possible, I am happy to say–I really like it! One of my big resolutions for this year was to cut-down on food waste and reduce grocery costs. Too often I buy food and consume about half. The rest goes bad before I’ve had a chance to use it all and I end-up throwing it out. Another costly habit is not taking advantage of sales on bulk purchases. I would often buy smaller, more expensive portions of fresh meats because I really didn’t like storing meat in the freezer. The meats are never quite as good once thawed and the ever-so-unappealing freezer burns always happens.
When I purchased the FoodSaver, I decided to make a concerted effort to shop smarter and reduce food waste. I am thrilled to report that with the FoodSaver, I’ve made good strides to store food better for longer, minimize waste and ultimately save more money. Below are my favorite FoodSaver uses.
What is a FoodSaver?
For those not familiar with this kitchen helper, the FoodSaver is a small appliance that vacuums and heat seals food in specially-designed bags. The idea behind vacuum sealing is the removal of air keeps food fresh 5 times longer than ordinary storage products like zipper bags, plastic wrap, foil or containers. Air deteriorates food causing spoilage and dehydrates food resulting in the loss of freshness. The combination of vacuum and heat sealing eliminates air, slowing food break-down. Genius right?!
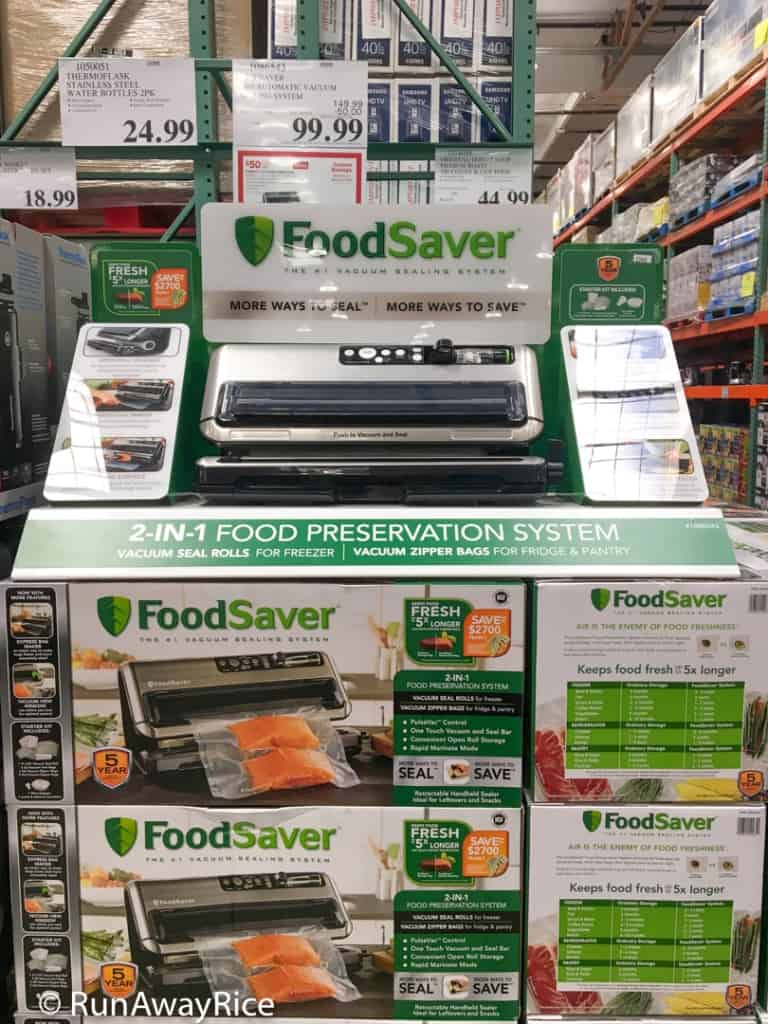
I purchased my FoodSaver Model 5480 from Costco Wholesale during the yearly sale (in November) for $99 (an awesome deal!). This FoodSaver model came with the vacuum sealer, a handheld sealer, a small storage container, 8 and 11 inch seal rolls for making custom-length bags and a 12 pre-cut and resealable bags. I also purchased a combo pack with more sealing rolls and assorted bags for $40. So far with regular use, the combo pack has lasted more than a year and there’s still plenty left.
FoodSaver Use #1 – Save Money Buying in Bulk
A savvy shopper knows you save money when buying in bulk or larger quantities for lower prices. We all love shopping at the warehouse stores, but to truly take advantage of the cost savings, you need to have a big and hungry family or an effective system for storing food so it’s still fresh and edible when you’re ready for it. This is when having a FoodSaver justifies those warehouse purchases.
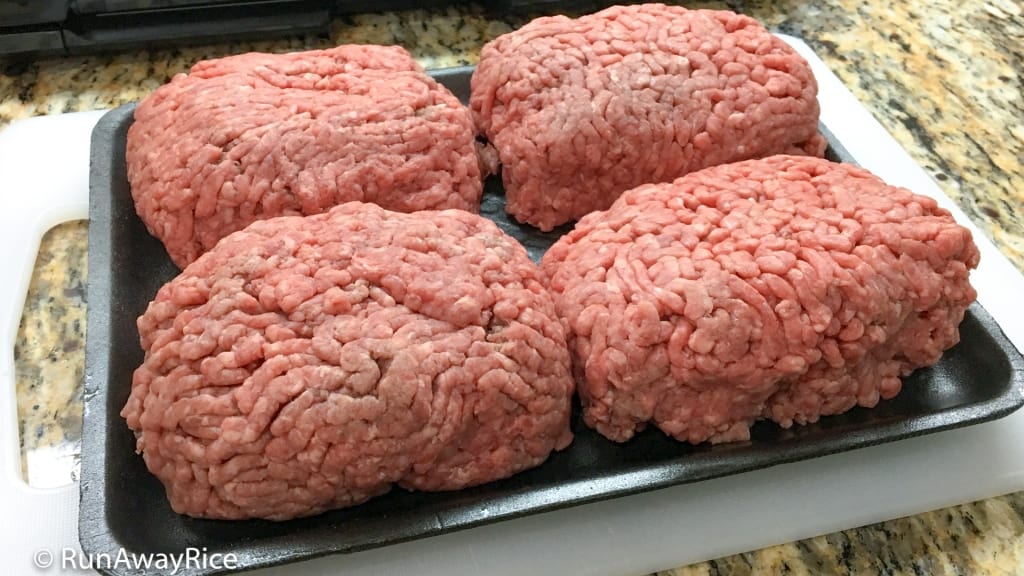
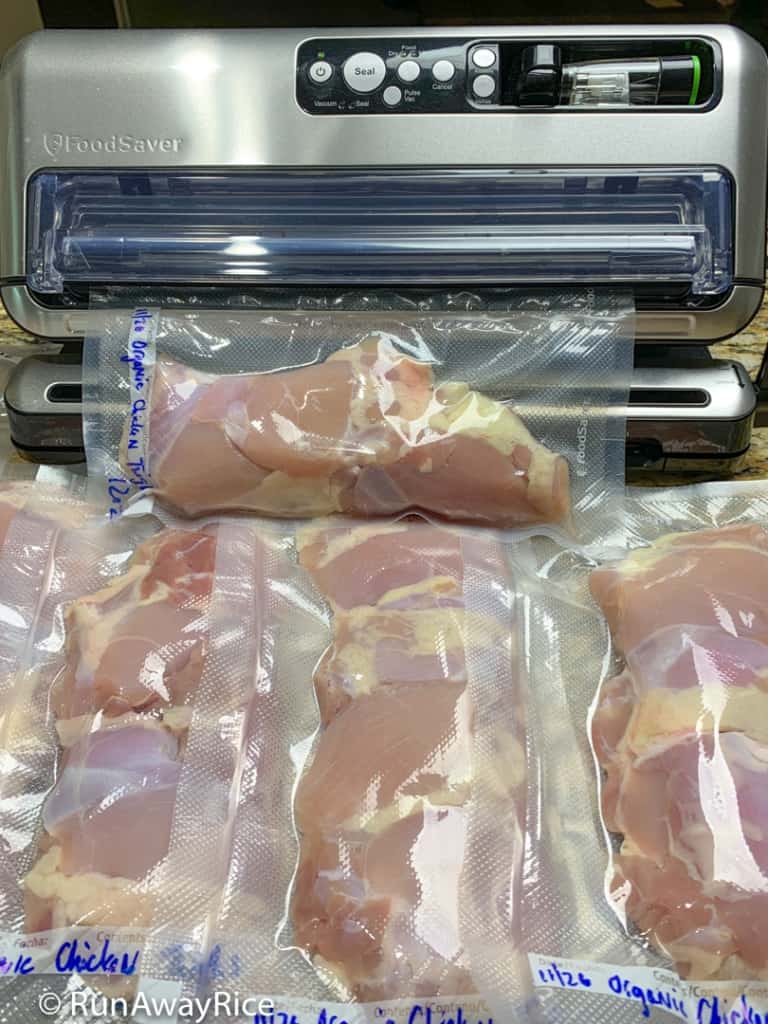
Meat is one of the items you can save lots of money when buying larger quantities or purchasing the value packs. (Value packs are larger packages of meat, 5 pounds and more that are discounted price per pound to encourage bulk buying.) Purchase bulk quantities at a warehouse store or when there’s a sale at your local grocery store.
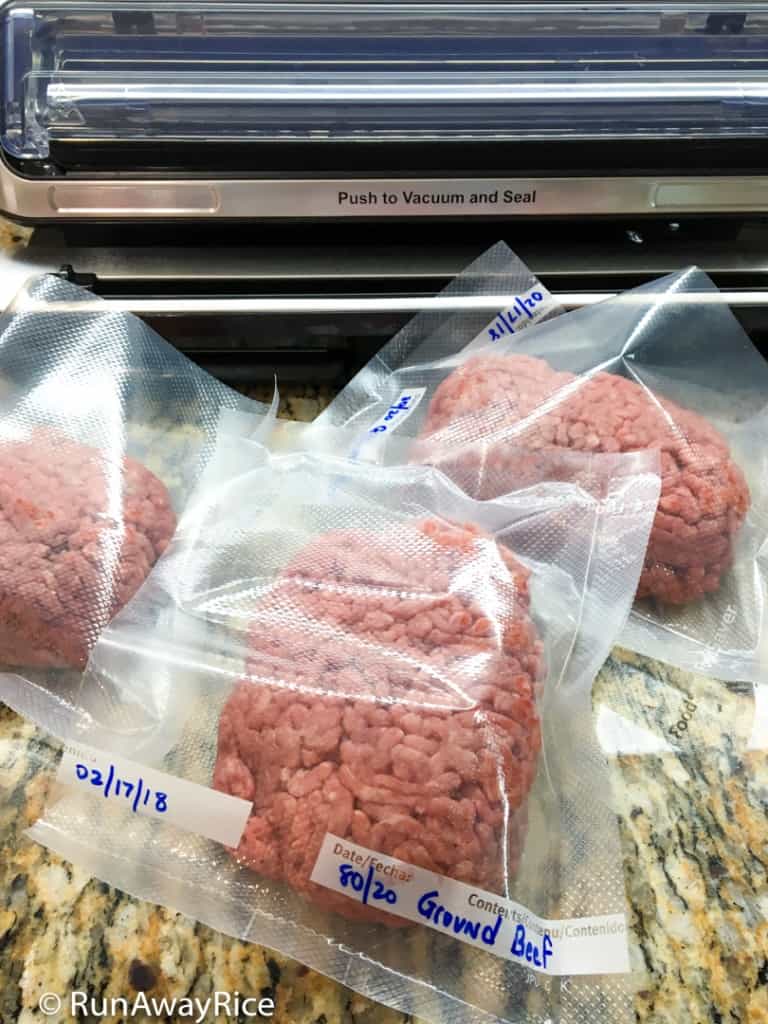
When you get home from the store, divide the meat into single-use portions, for example, 1 pound each or whatever weight you use typically to make a favorite dish or meal. (It helps to have a food scale but you can eye-ball it too.)
Use the FoodSaver system to make the bags and vacuum seal the food. Store the meat in the freezer for longer term storage. If planning to use within the week, store in the fridge. The best part is: the meats are packed air-tight so there’s no chance for freezer burn. Yeah!
FoodSaver Use #2 – Freeze Fresh Vegetables
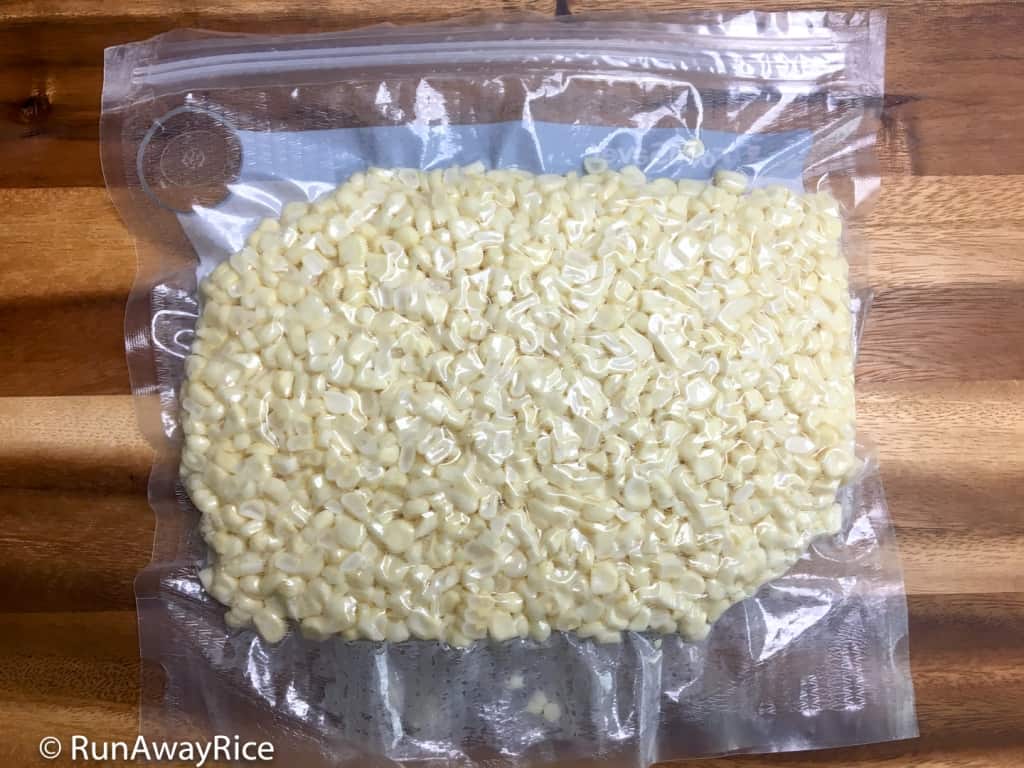
Enjoy seasonal vegetables longer with a FoodSaver. I love fresh corn and this summer when there was an abundance, I purchased 4 dozen ears and made my own frozen niblets. Now during the winter months, I have fresh and juicy sweet corn to make Sweet Corn Pudding (Che Bap) or Sauteed Summer Corn and Shrimp (Bap Xao Tom).
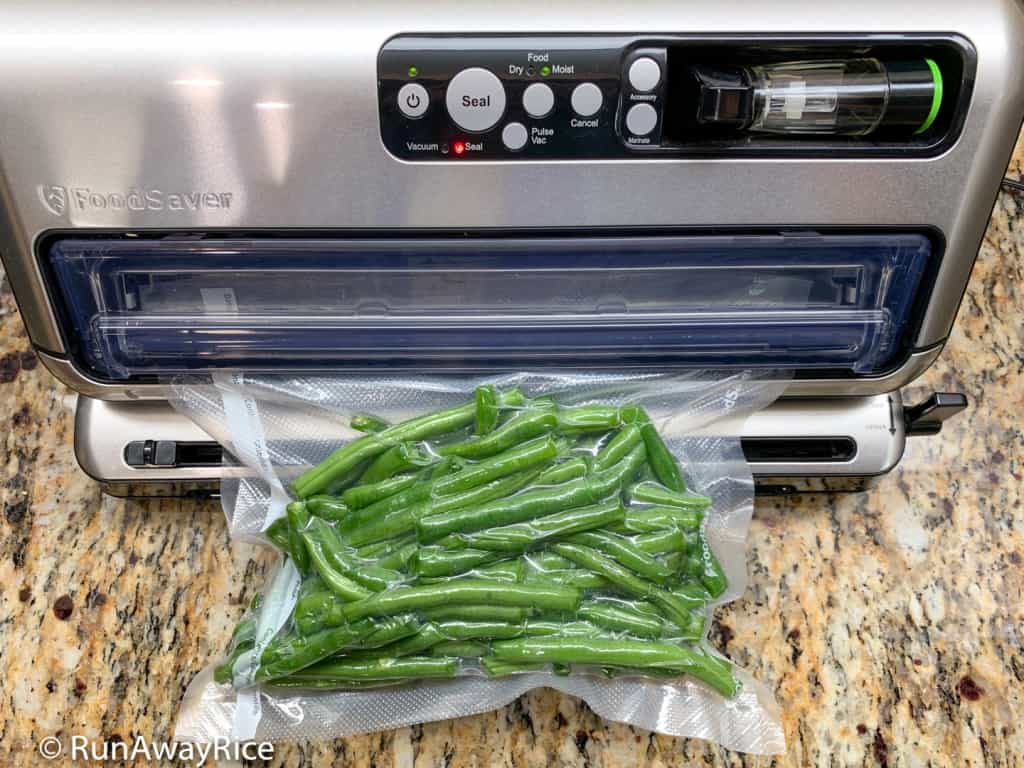
Green beans is another vegetable I love. They’re so versatile: steamed, stir-fried or in a soup. Here’s what I do: Trim and wash the green beans so they’re ready to use. Seal with the FoodSaver. Store in the fridge for up to 3 weeks or in the freezer for up to 1 year. Now there’s no excuse for not having green vegetables with a meal!
FoodSaver Use #3 – Marinate Foods Faster
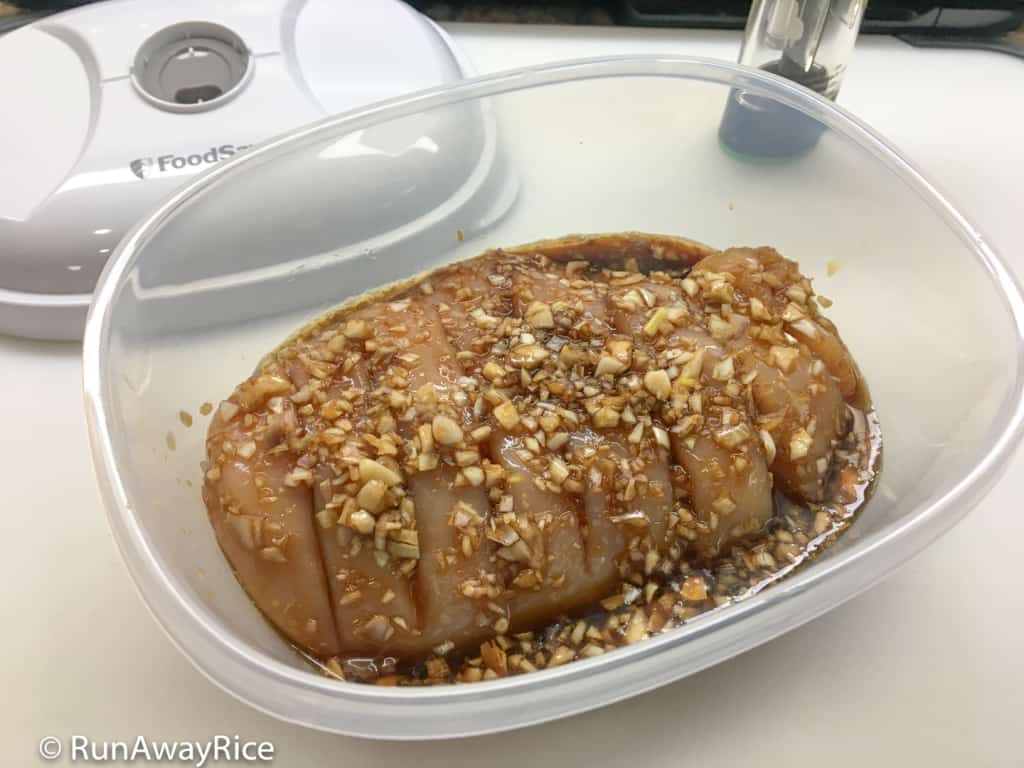
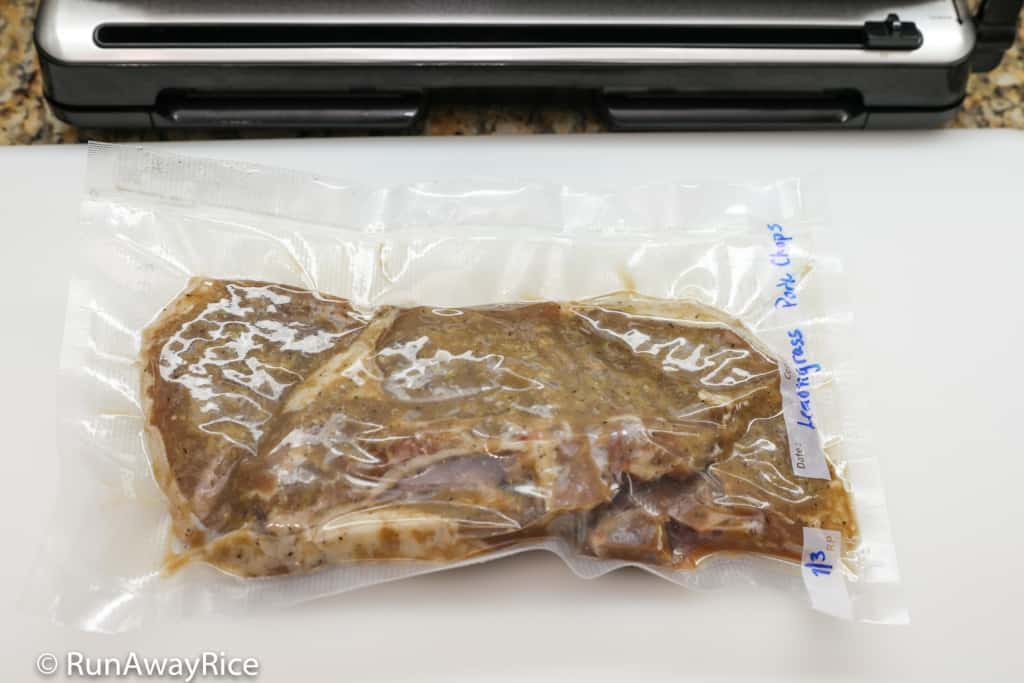
Foods marinate faster when air is removed. This is especially helpful when marinating large or dense cuts of meats. To infuse meat with the wonderful flavors of a marinade, I usually marinate overnight. Use the FoodSaver to marinate meats and it reduces the time considerably, from overnight to minutes. I do recommend you experiment with this feature. Vacuum sealing really concentrates the marinade so you don’t want to let it go for too long.
I used the FoodSaver to marinate pork chops for Grilled Lemongrass Pork Chops (Suon Nuong Xa) in 30 minutes instead of overnight and the flavor was amazing. You must try it!
FoodSaver Use #4 – Pack Clothes for Shipping or Travel
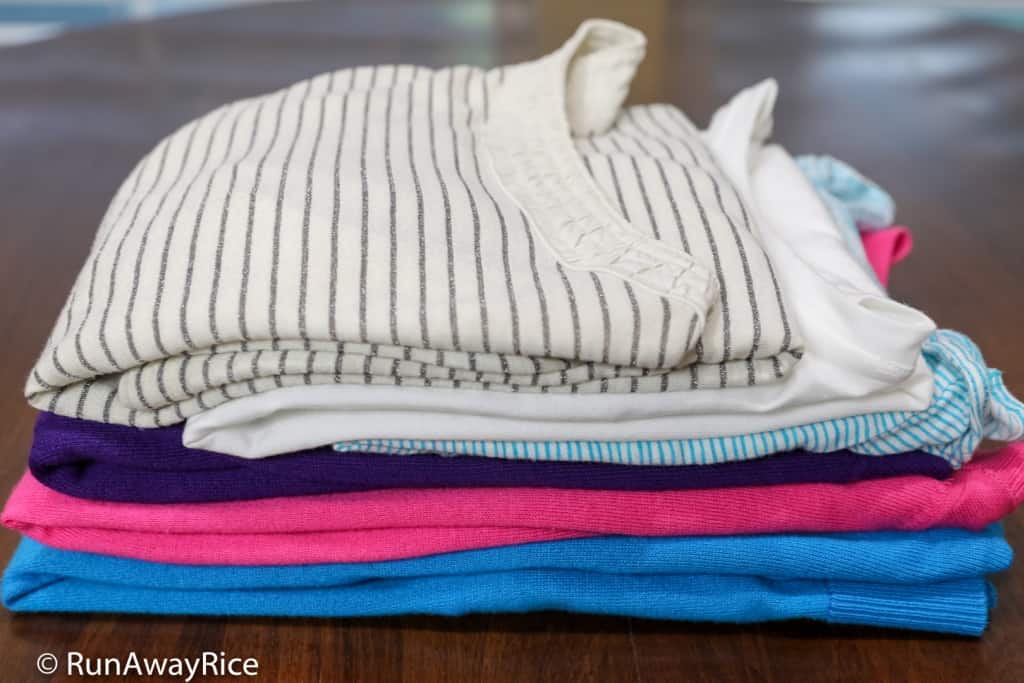
Here’s a another neat use for the FoodSaver. I had to ship some clothes recently through the post office. To get them to fit into a small shipping box, I used the FoodSaver to remove all the air. Take a look: Below are 3 cardigan sweaters and 3 t-shirts.
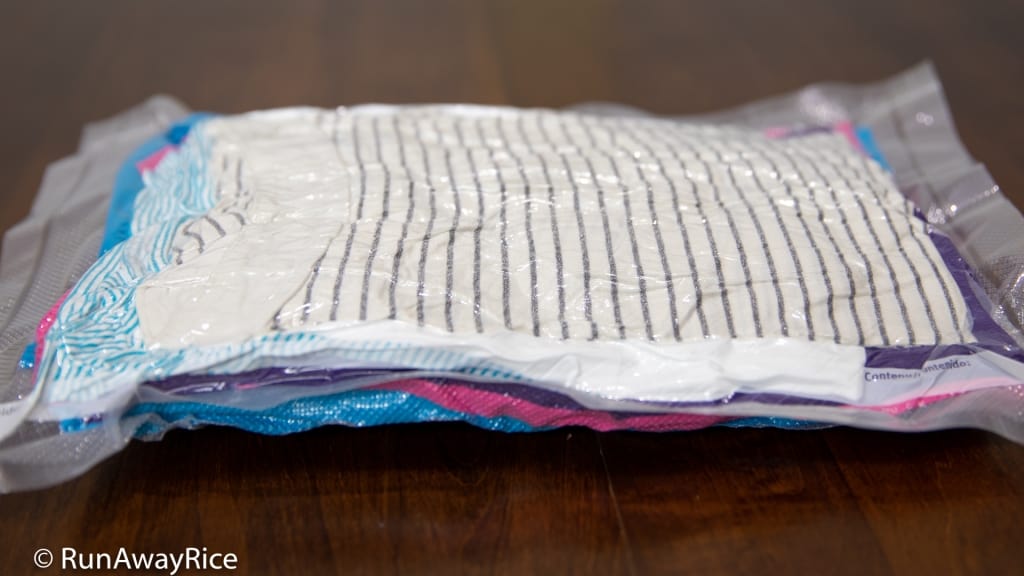
This is what the clothes look like after vacuum sealing. It’s less than half the thickness. Pretty awesome! You can use this method for packing for travel as well. Of course, once you unpack everything, you’ll need to make sure you can pack it all back. Hopefully there’s a FoodSaver where you’re going! 🙂
There are lots of nifty non-food uses for the FoodSaver. Think about items you store long-term and want to keep dust-free and clean or perhaps preserve. The possibilities are endless.
FoodSaver Use #5 – Save Space in the Freezer by Repackaging
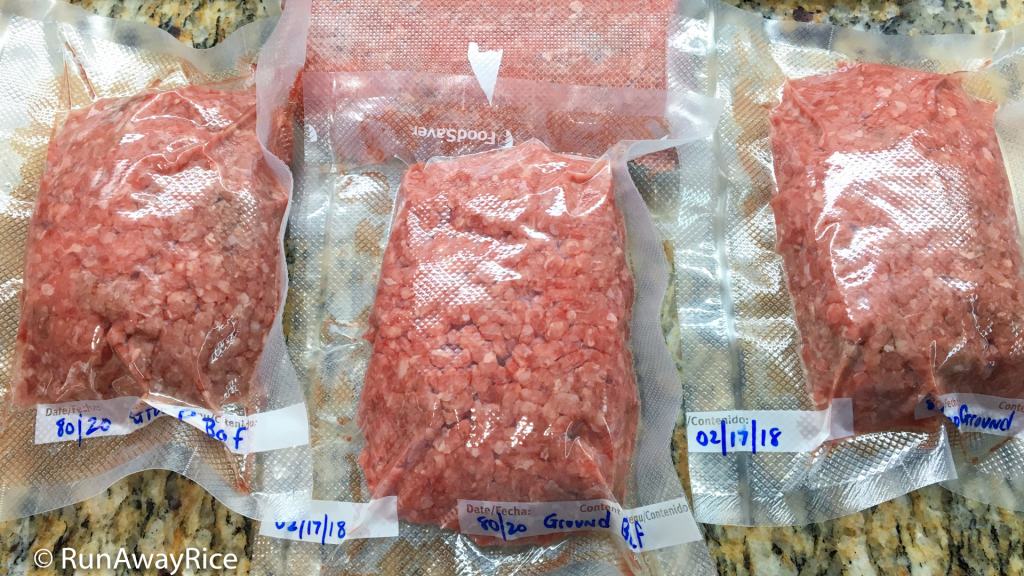
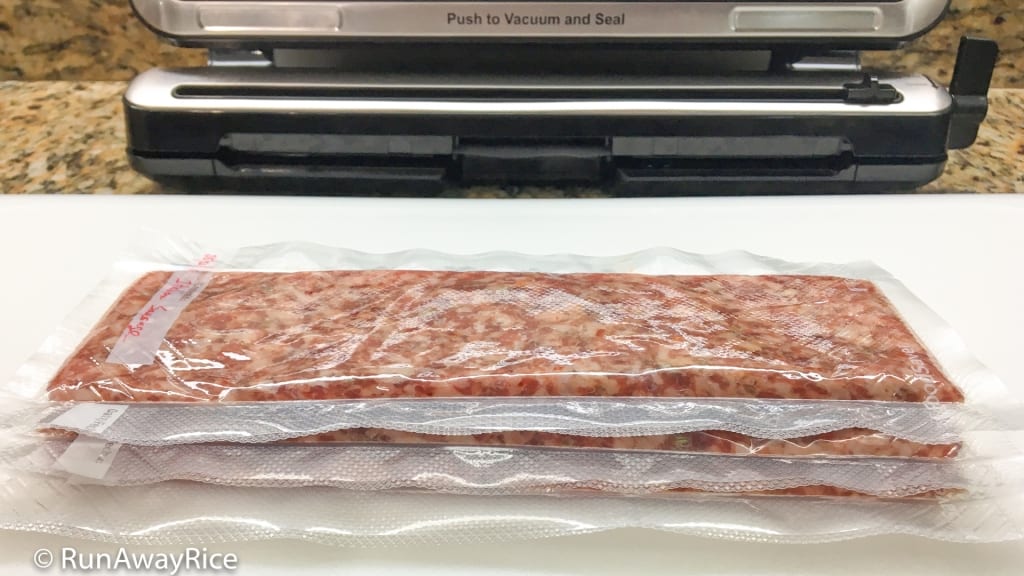
Toss the Styrofoam trays and bulky paper boxes foods are packed in. Repackage food with the FoodSaver and have more room in the fridge or freezer. Here’s a neat trick I discovered for storing ground meats. After sealing, flatten the meat packages and this makes them easier to stack in the freezer.
FoodSaver Use #6 – Make Homemade Frozen Meals
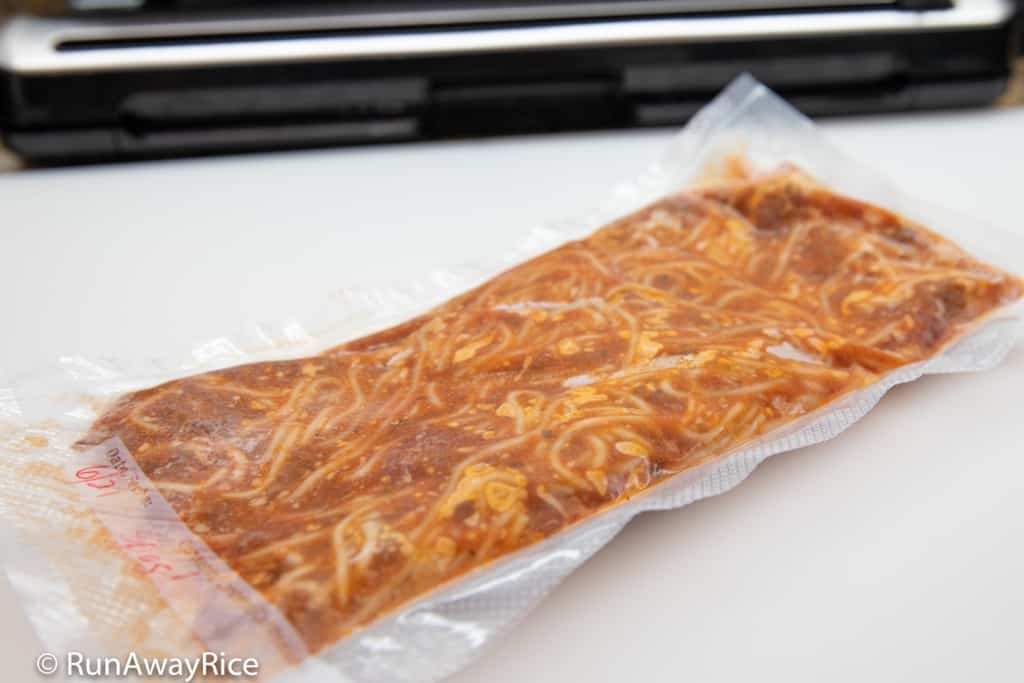
This is an awesome way to save leftovers for another time. Transfer the leftovers into a bag, seal and freeze. Now you have a frozen meal. These instant meals are perfect for the busy work week and so much healthier than fast-food.
This is leftover spaghetti I saved for work lunches.
FoodSaver Tips
Did you know the food bags are reusable? Simply wash the bags with dish soap and hot water and then air-dry. You can also wash them in the dishwasher. I don’t reuse all the bags. I recycle the ones used to store “cleaner” foods like fruits, vegetables, cereal and dry snacks. The bags used for meats or particularly saucy dishes I typically toss out.
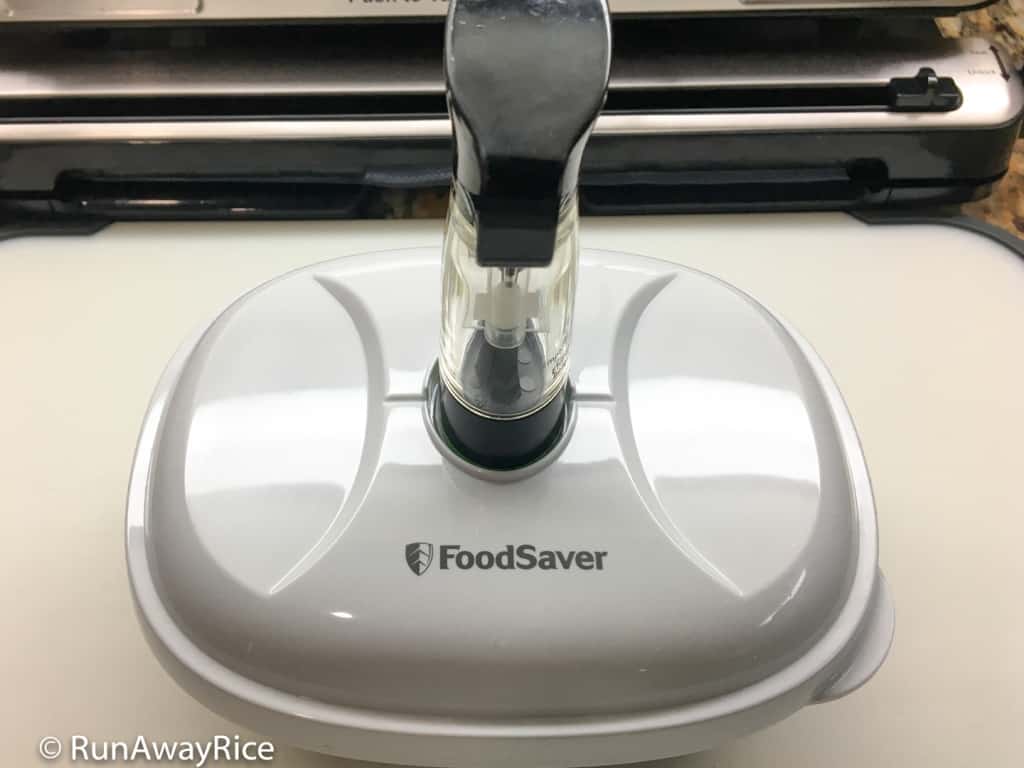
FoodSaver has resealable bags and containers too. These are particularly handy for storing foods consumed regularly, like cheese and snacks, while still keeping them fresh longer. You have to vacuum seal the food after each use but it’s effortless. The vacuum sealing takes about 15 seconds. If you like the idea of using resealable bags and storage containers, be sure to purchase the FoodSaver machine with the handheld vacuum sealer.
To learn more about the FoodSaver system, please visit their official site FoodSaver.com.
Share Your Favorite FoodSaver Uses
Has the FoodSaver reduced your grocery costs? Share your comments with me. Also, if you have a clever FoodSaver use, I’d love to hear about it! 🙂
If you enjoy this “My Favorite FoodSaver Uses” post, you may also like:
Instant Pot – Hype or Here to Stay?
How to Make a Vermicelli / Thin Noodle Disk
My Top 5 Uses for a Salad Spinner
(and It’s Not Just for Salad)!



I am on my second one and I just love it. I freeze my apples and make apple pie they are delicious
We are on our 2nd food saver machine and the 3rd is in the closet. As our unit has gotten older I have to now seal each end twice. Still sucks out the air and keeps food safe in the freezer for up to 3 years. And food sealed in a jar -keeps as long as jar is sealed. Will never live without a seal a meal.
I vacuum seal flour, rice, sugar and grains and then freeze them for a week to kill any critters that may not be visible in the package at first glance. After that I store in airtight containers in the pantry. People who live in humid environments should consider storing vacuum sealed flour and grains in the freezer 24/7 to avoid premature spoilage.
Hi Trang,
Do you have any problem with sealing and vacuuming the resealable bag using the handheld vacuum sealer option? Mine vacuumed out the air in the bag, but later somehow the air reenter. I check my bag is new. Any suggestion as to why this happens? ( I store some dried kumquat mut)
Hi Amy,
It’s hit-or-miss with the resealable bags. I use one for storing cheese in the fridge and it works out great. The bag stays air-tight after two dozen uses. However, when I use another bag in the freezer or pantry, it gets filled with air over time. As you mentioned, a new bag without holes helps. I’ve found some seals just aren’t very good. I can hear the seal leaking air as soon as it’s vacuumed. I wish I had a better answer for you. 🙂
Hi Trang,
I’ve been a reader of your blog for years now. I visit often looking for recipes for my favorite comfort dishes when I miss my Mom’s home cooking. I like that you share many appliances and tools you like and use in your kitchen. Your posts are always so informative and fun! 🙂
Hi Pete,
Thanks for your kind words! I am so glad to hear you’re enjoying the recipes I’ve been sharing. I try to share all the classic Vietnamese dishes but if there’s a special dish, please let me know. 🙂
I love my Food Saver. I flash freeze my fruit and veggies then put in bags seal and then in the freezer. Buy my meat in bulk bring it home break it down put in bag seal and freeze. The older I get the more things I learn that I can freeze. Bought my first one back in the day when my kids were small. Never looked back..