
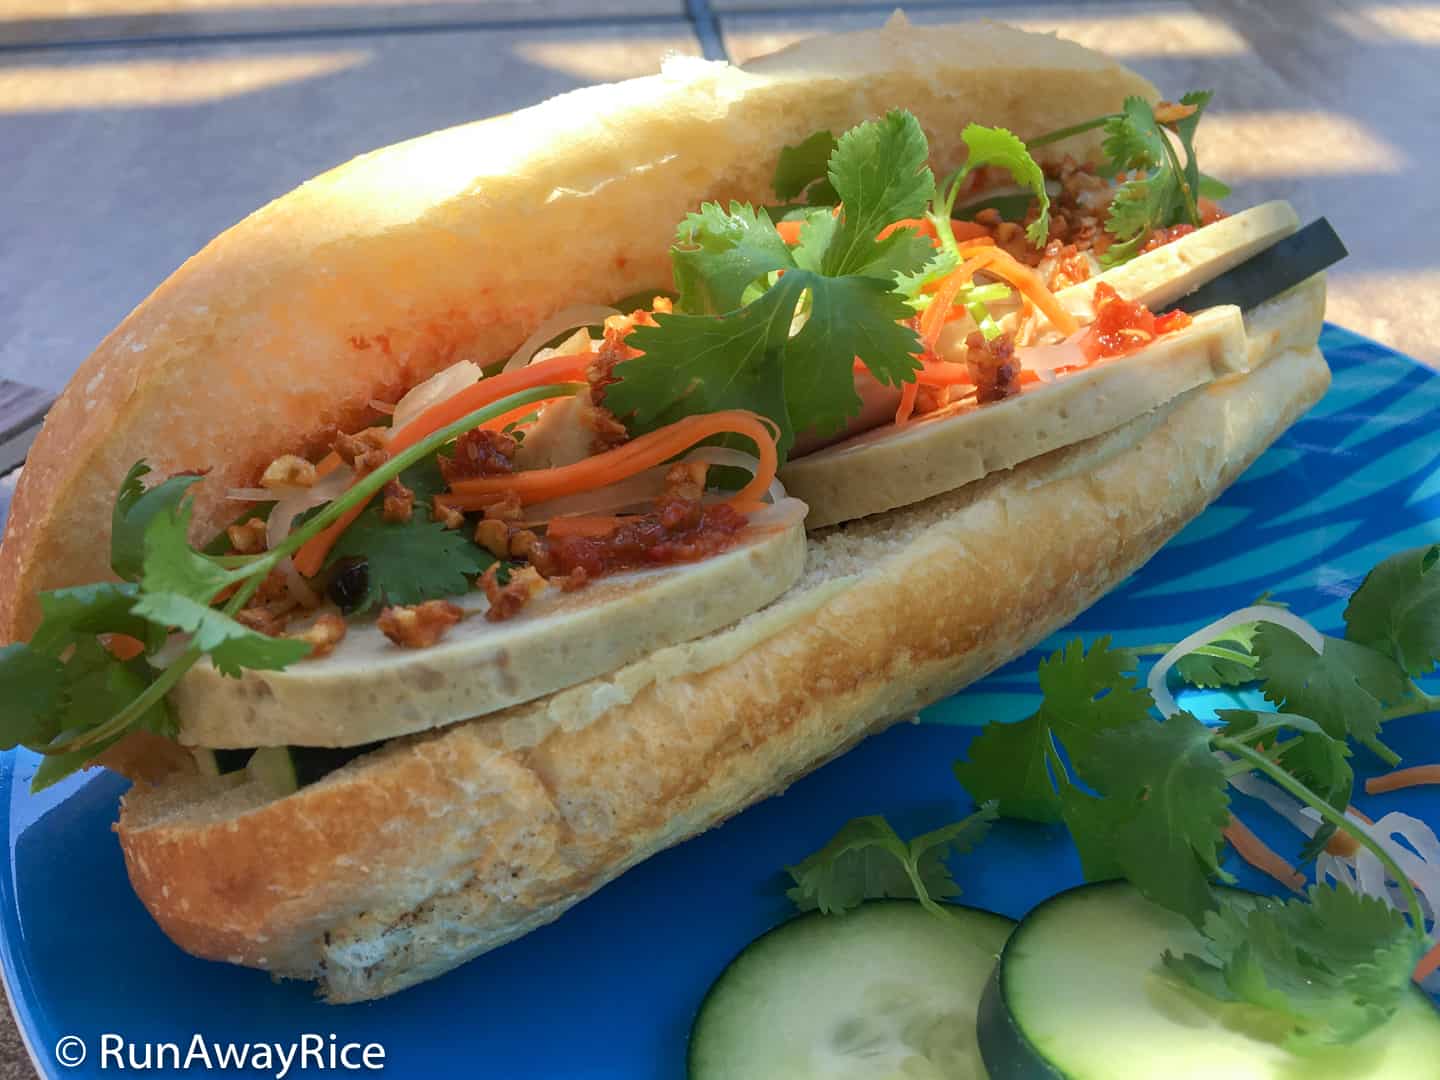
Mark this Fried Garlic (Toi Phi) recipe as a must-know if you’re a fan of Vietnamese cuisine or just love garlic! This deliciously crunchy fried garlic adds so much flavor to meats, stir-fries, noodles and rice. Sprinkle it on soups, sandwiches, savory cakes and dumplings, whatever you like. There’s no wrong way to enjoy it!


Notes on the Fried Garlic (Toi Phi) Recipe, Tips and Tricks
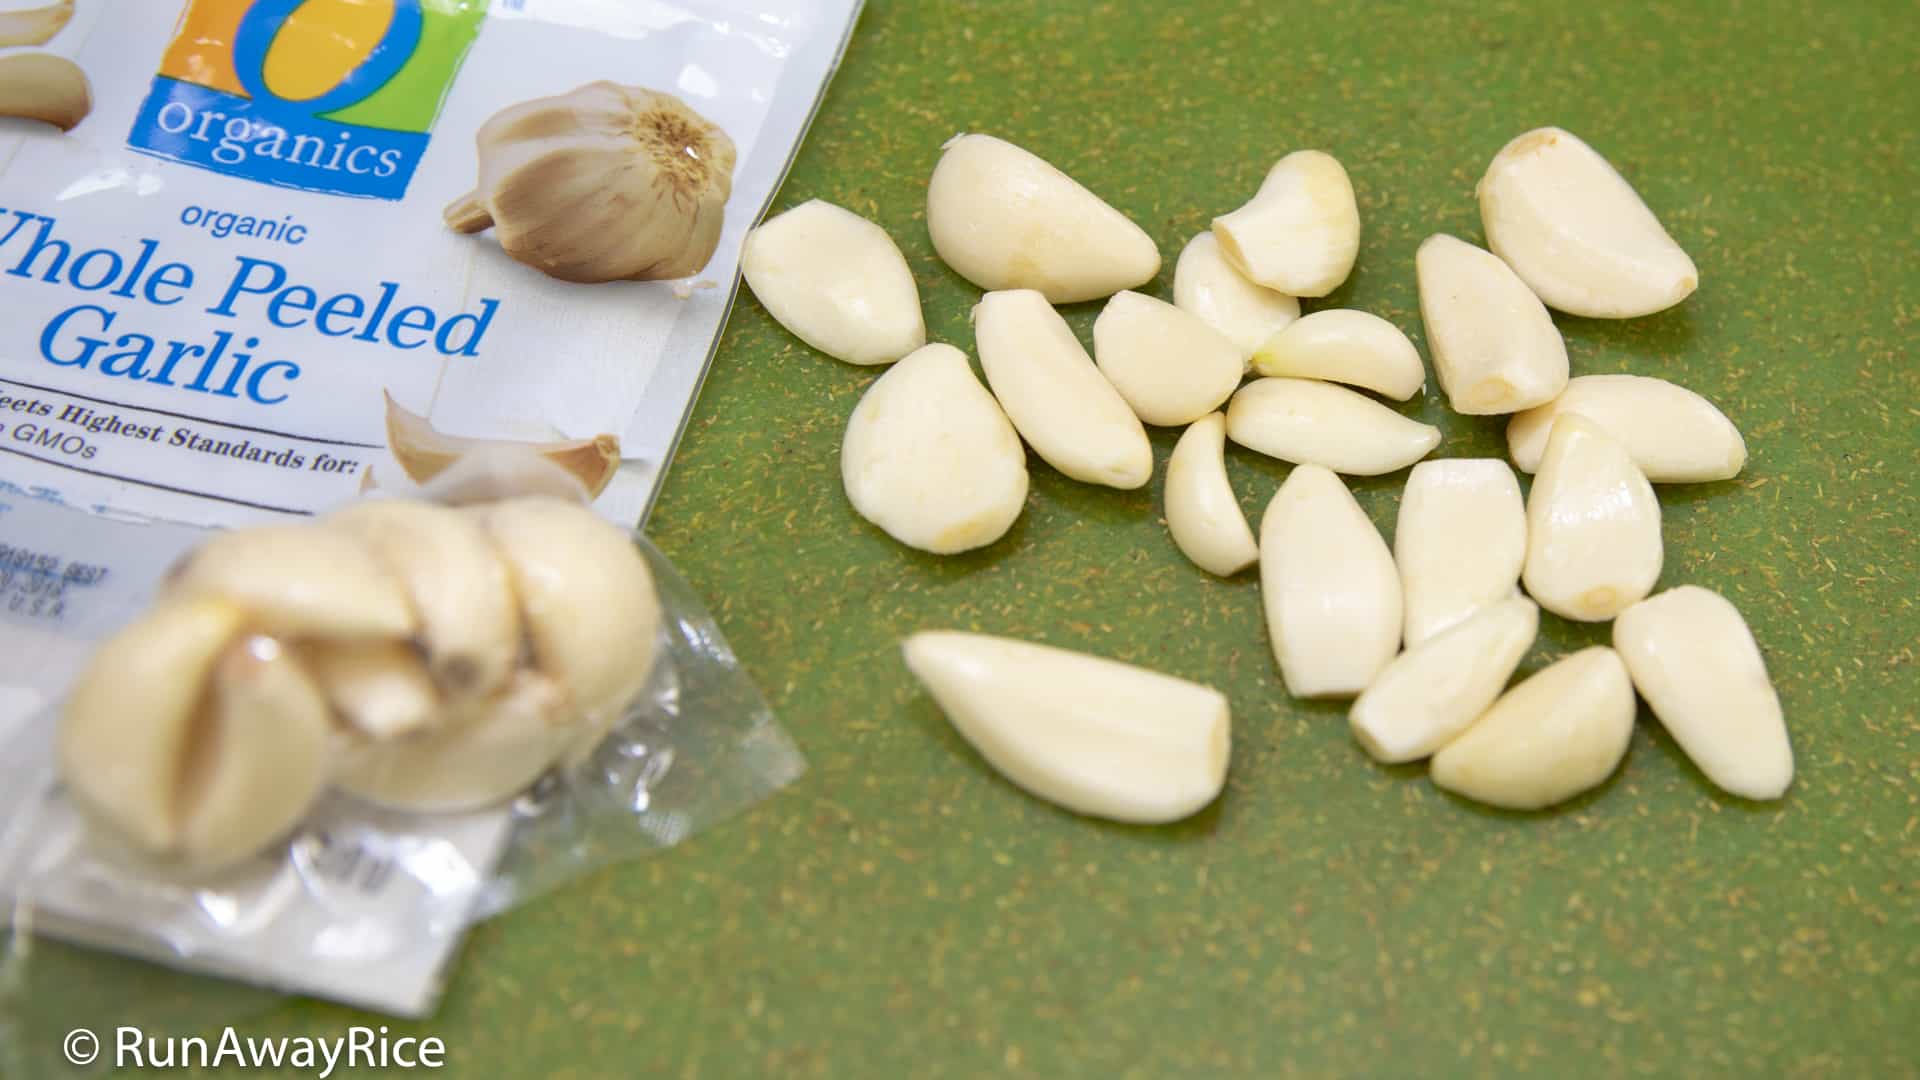
My shortcut is to use whole peeled garlic in vacuum-sealed bags. (I purchase the garlic at Von’s market. It’s usually stocked in the produce section.) This convenience item saves a bit of time not having to peel the cloves.
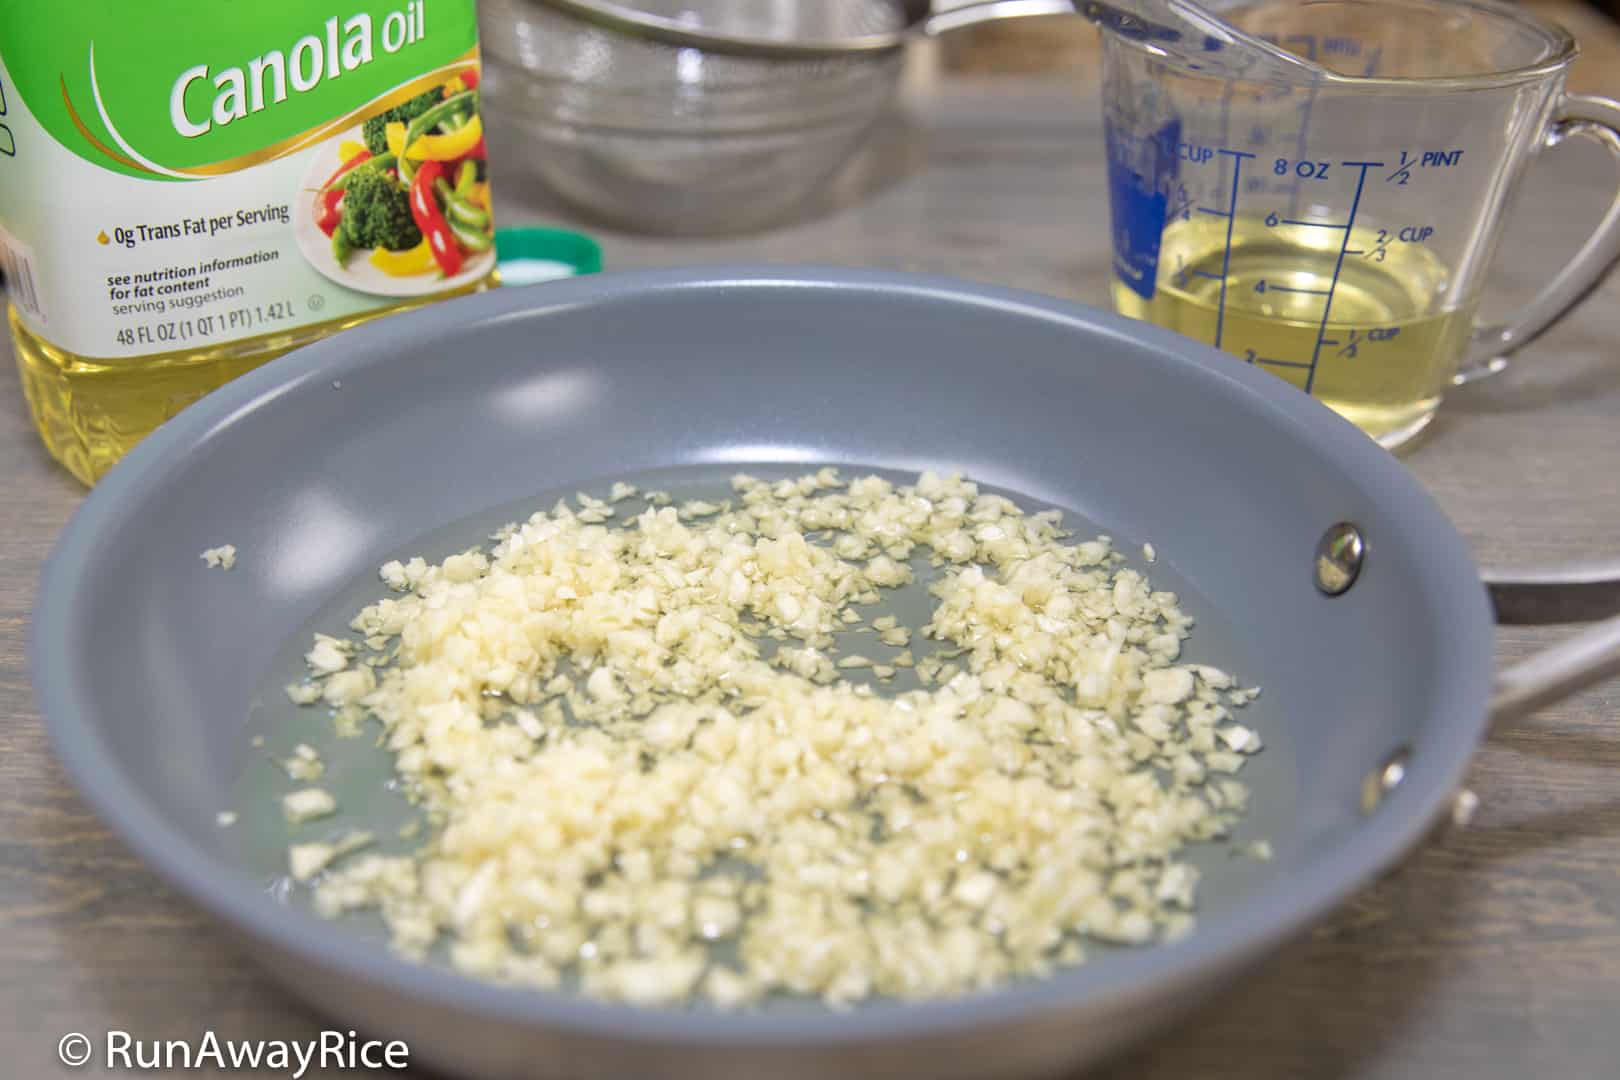
I like canola oil as it’s a mild-tasting. Sunflower, corn or olive oil works great in this recipe too. Feel free to use the oil you love.
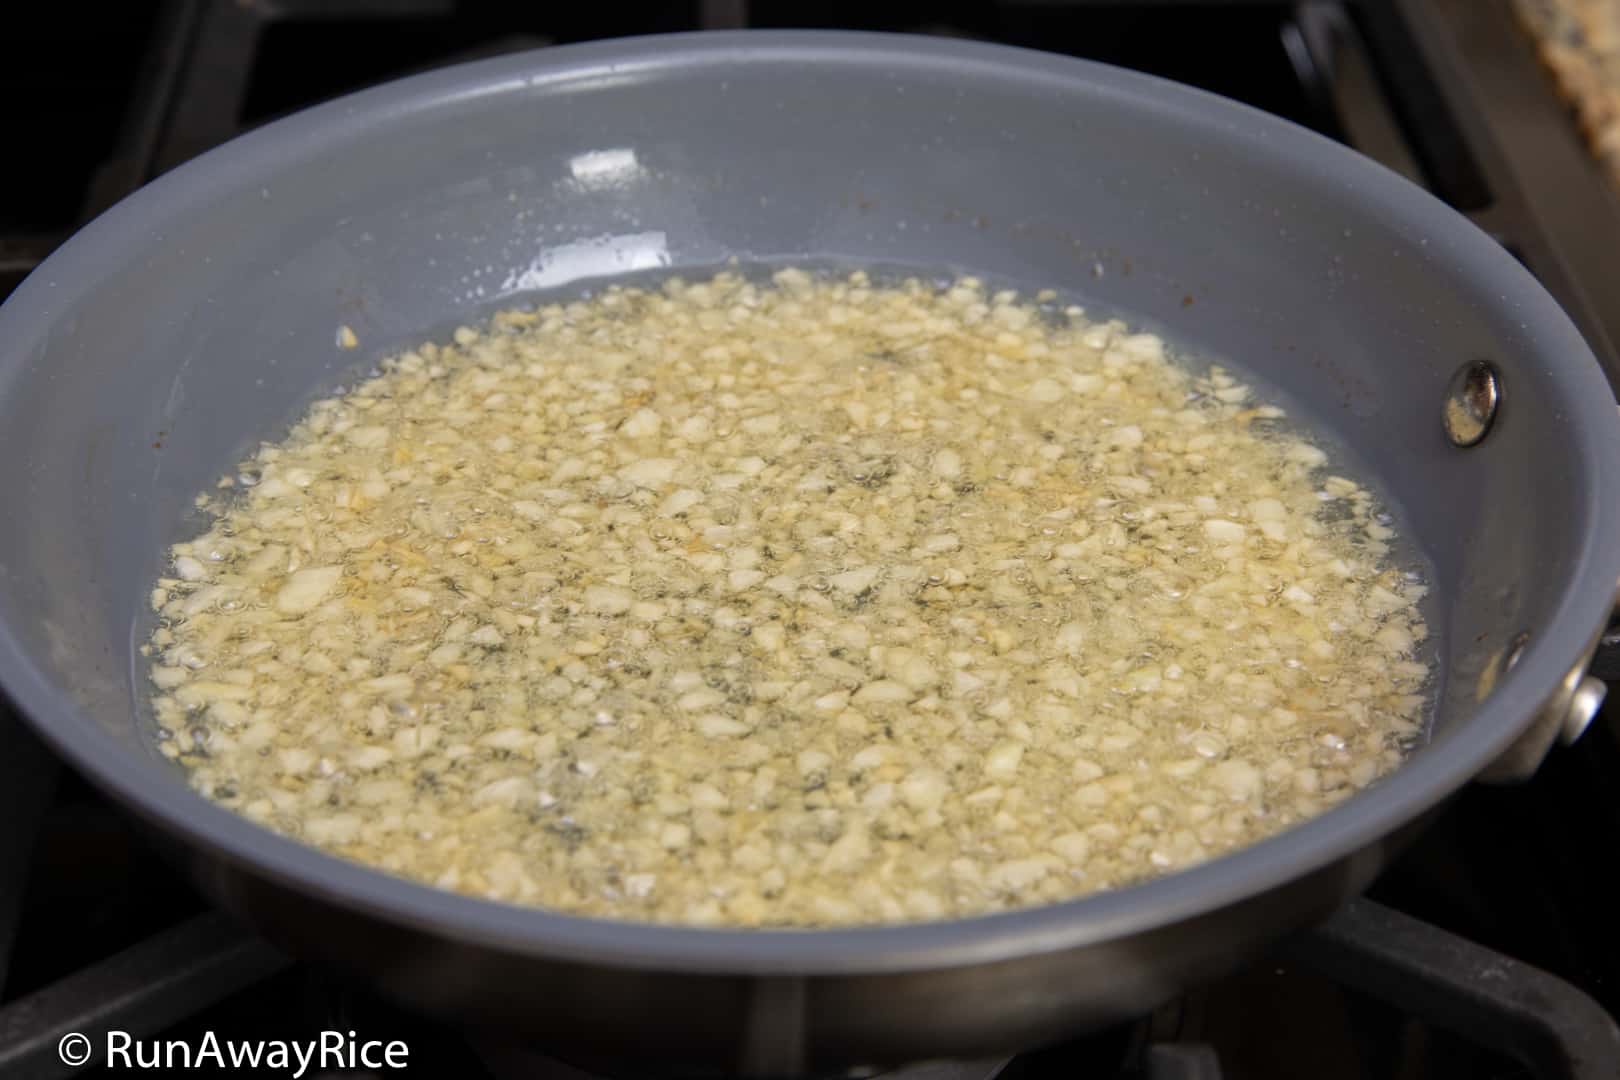
Once the oil starts bubbling, the garlic browns quickly so be careful not to scorch it. As soon as the garlic is lightly golden, turn-off the heat. The hot oil will continue frying the garlic to a golden brown.
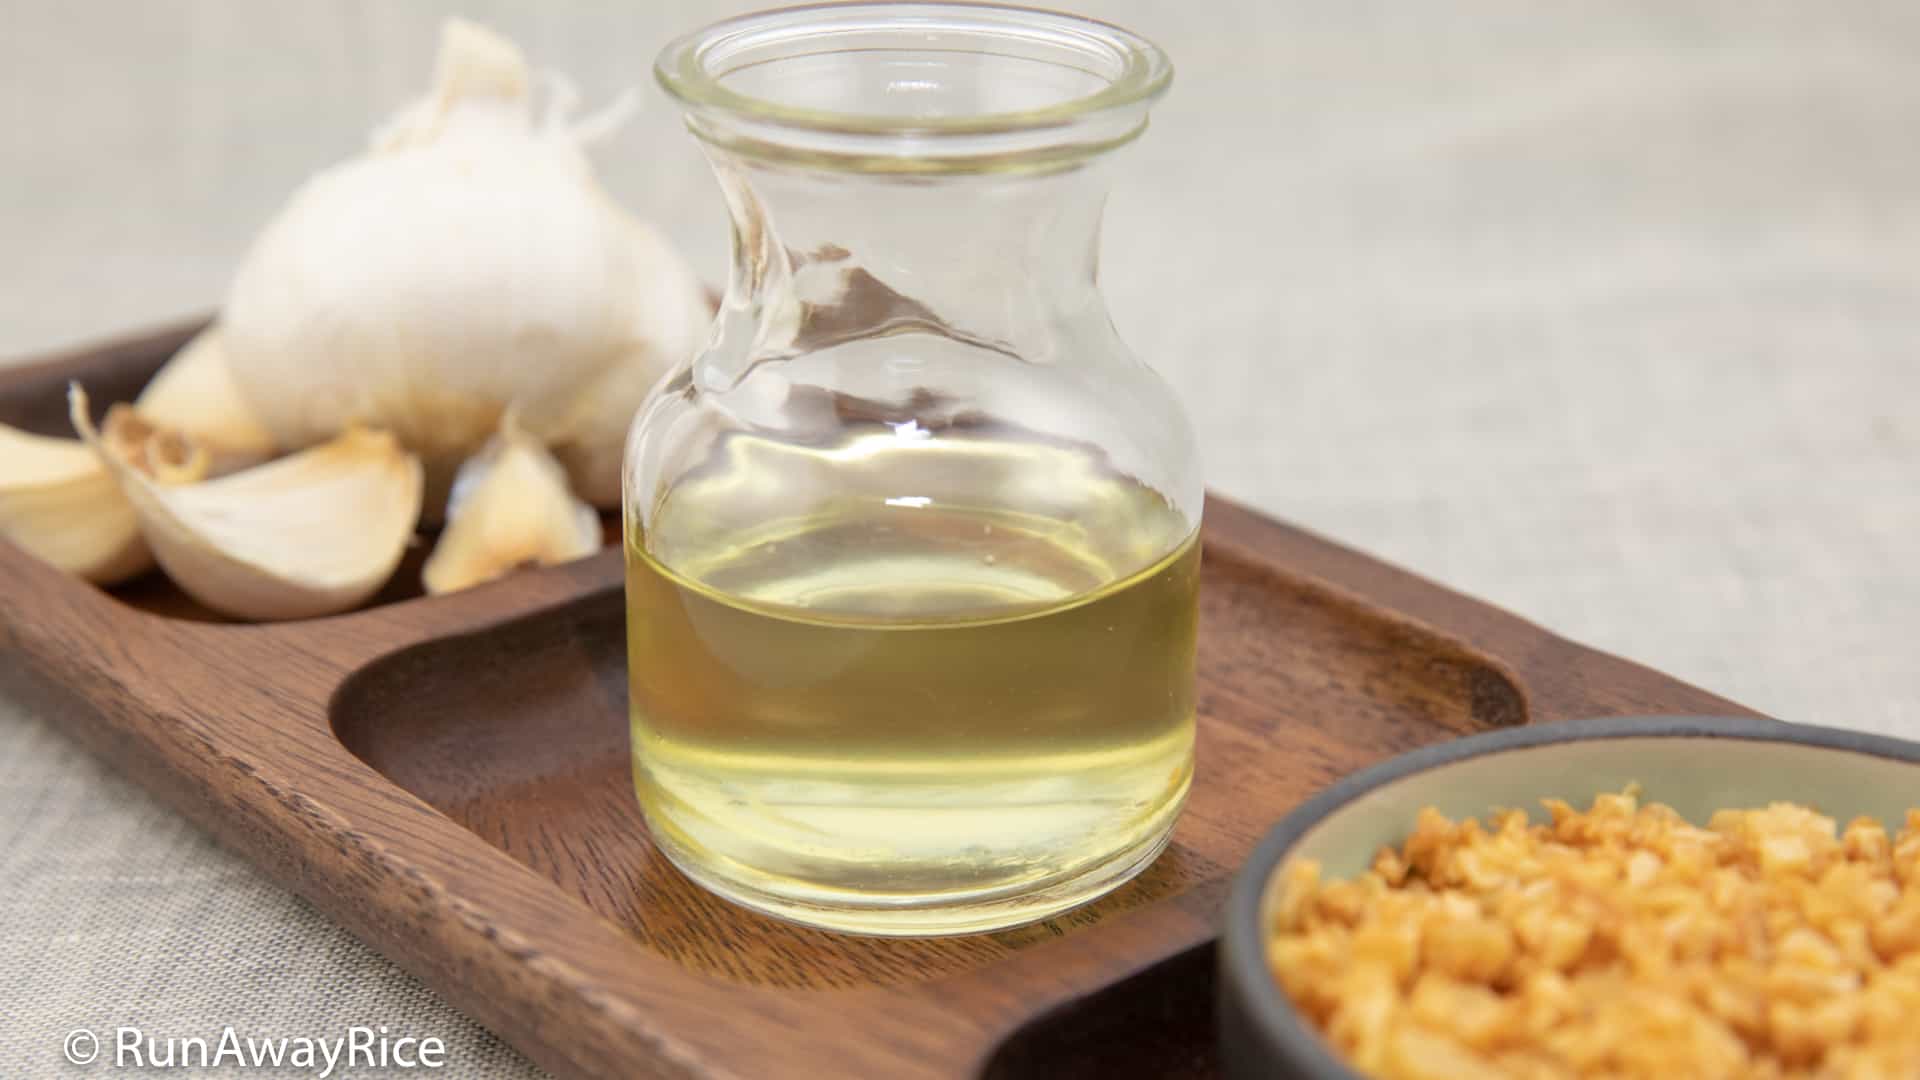
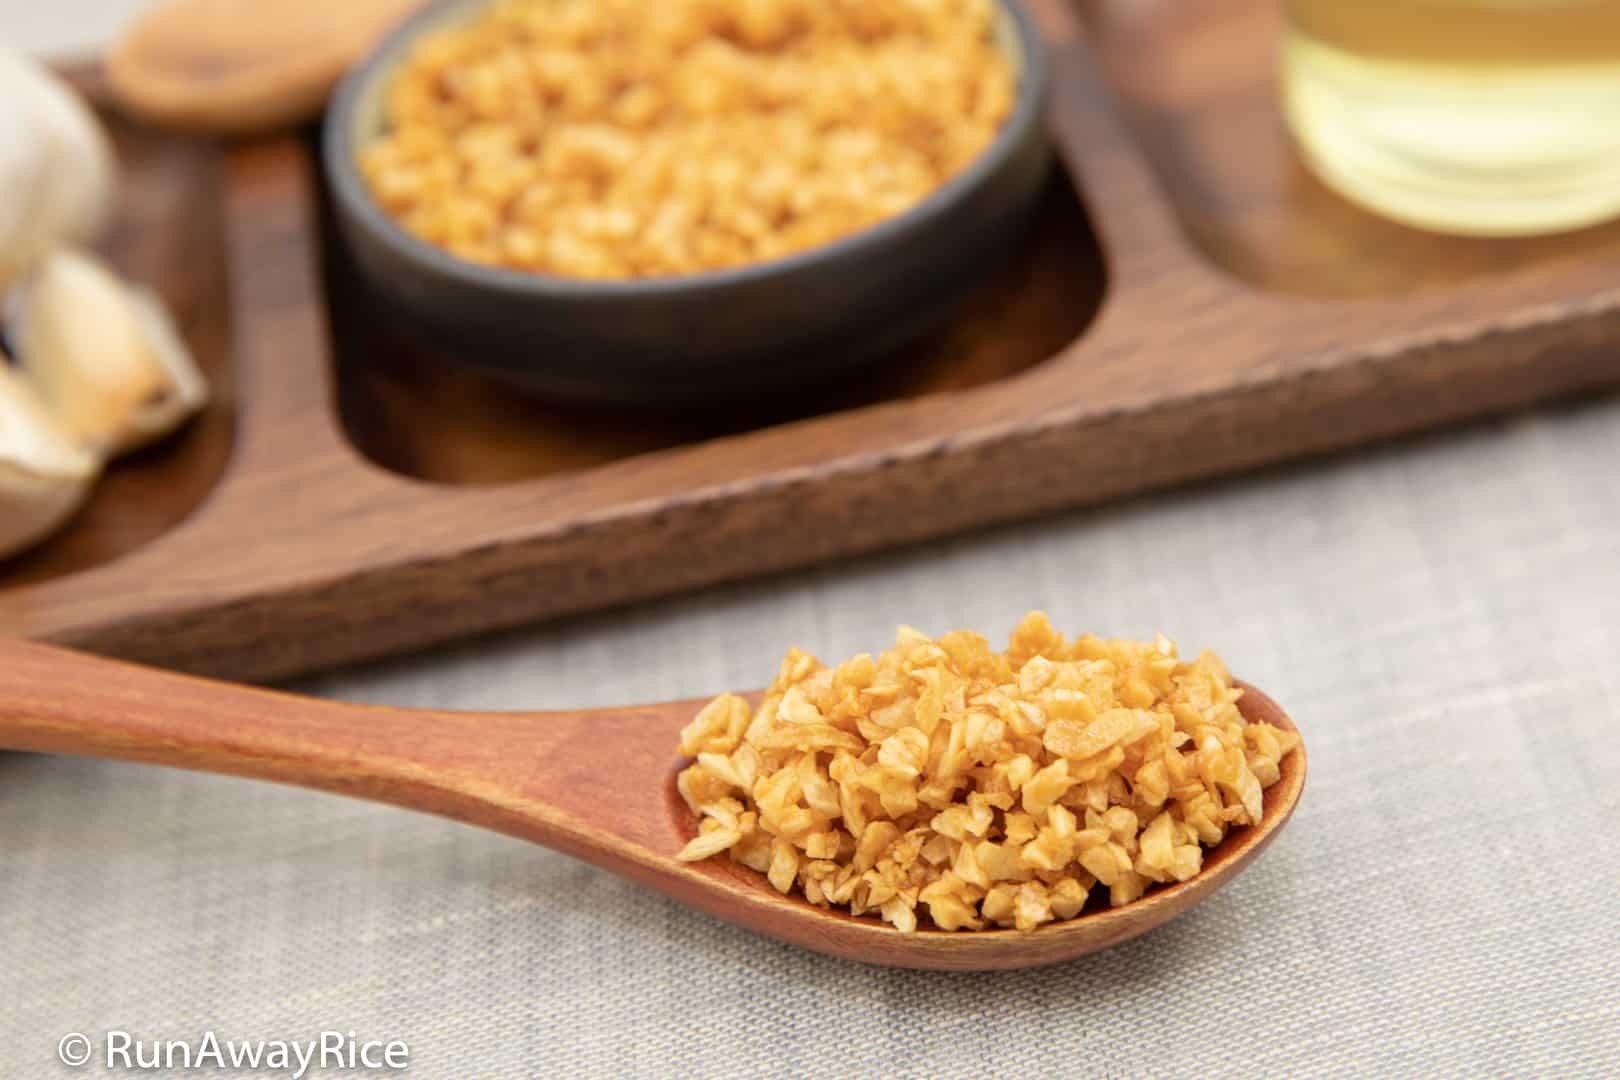
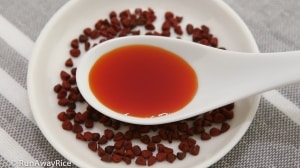
Not only is there delicious fried garlic with this recipe, you also have aromatic garlic-infused oil. Use the garlic oil in stir-fries, dressings or sauces. Optionally, combine the fried garlic and infused oil with balsamic vinegar to make a yummy dip for crusty bread.
Fried Garlic / Toi Phi
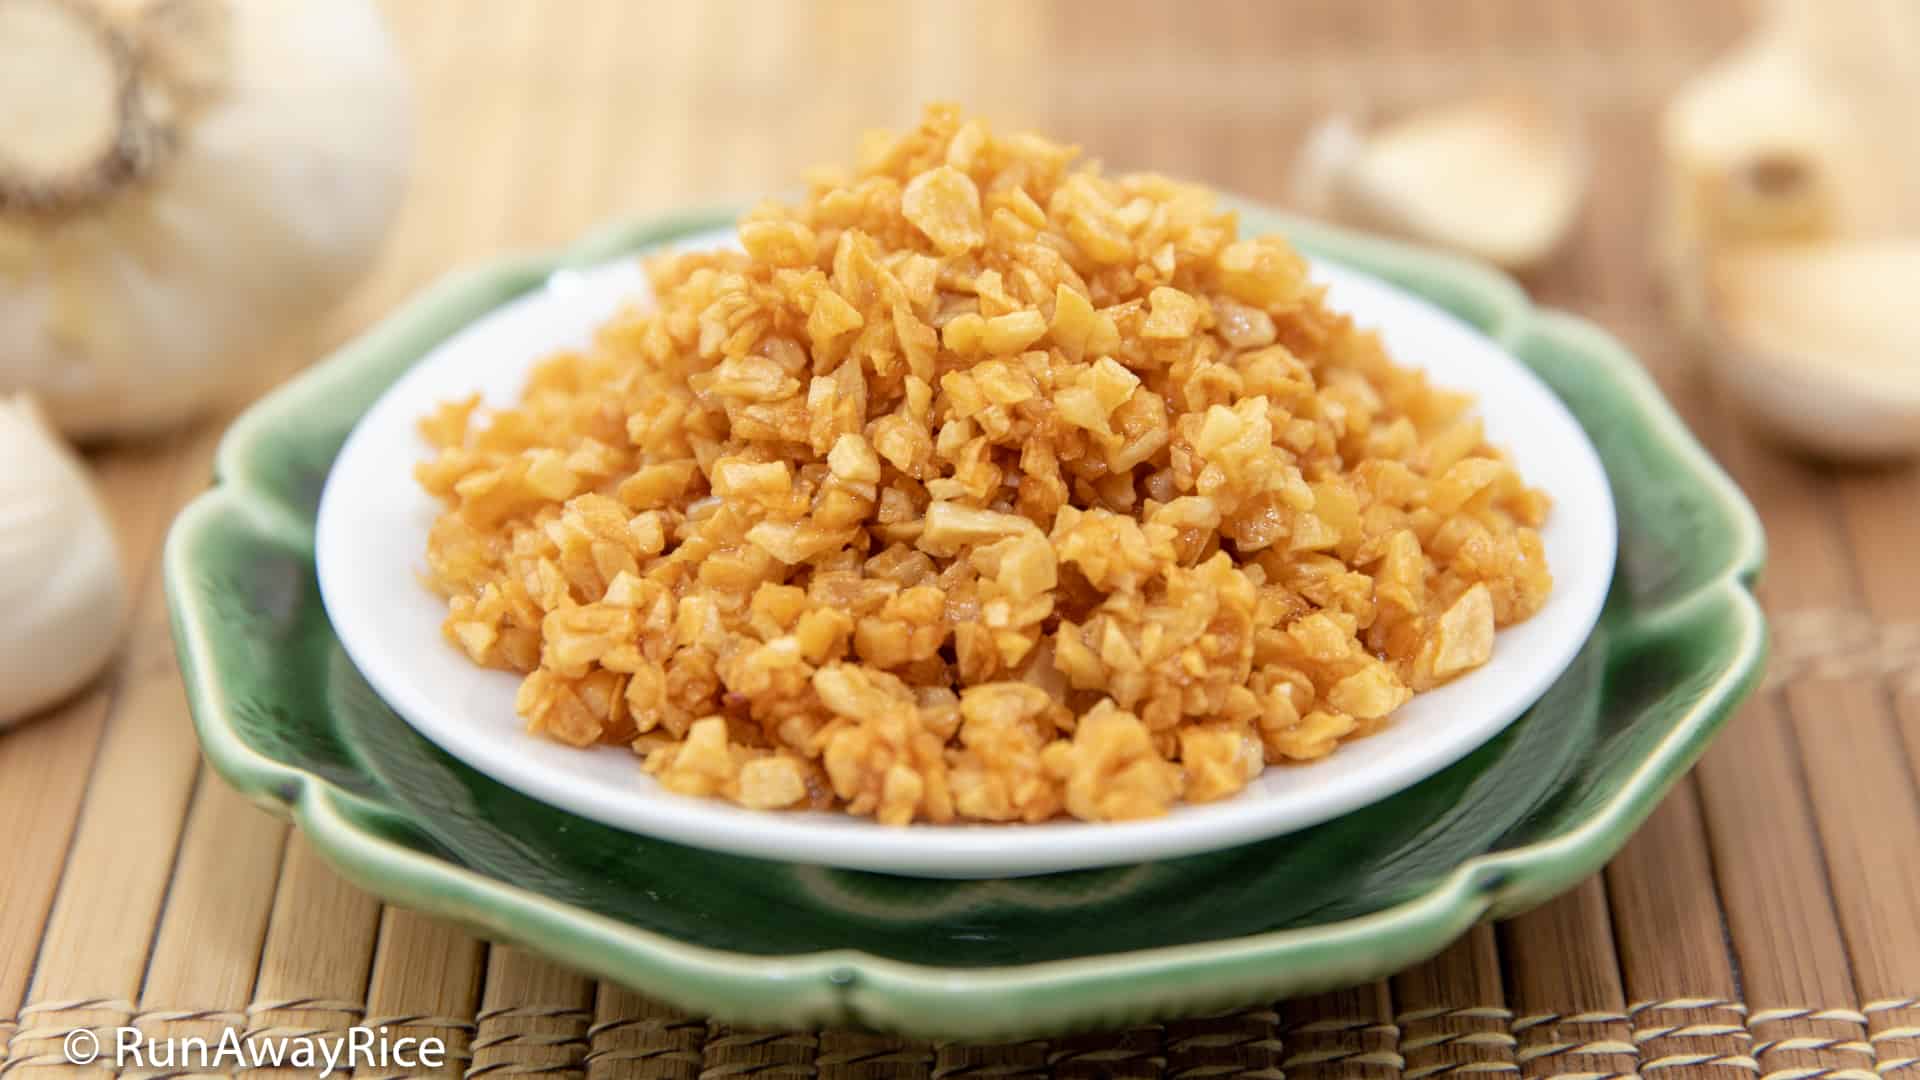

Fried Garlic / Toi Phi
Mark this Fried Garlic (Toi Phi) recipe as a must-know if you're a fan of Vietnamese cuisine or just love garlic! This deliciously crunchy fried garlic adds so much flavor to meats, stir-fries, noodles and rice. Sprinkle it on soups, sandwiches, savory cakes and dumplings, whatever you like. There's no wrong way to enjoy it!
Instructions
-
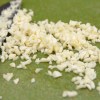
Smash the garlic cloves and then finely chop.
-
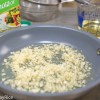
Transfer the chopped garlic into a small skillet. Add the vegetable oil.
-
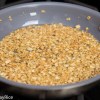
Stir-fry the garlic over Medium heat until it's lightly golden, approximately 3-4 minutes. Turn off the heat.
-
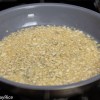
Stir the garlic in the hot oil for another minute or two allowing it to turn completely golden.
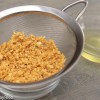
-
Transfer into a small sieve separating the garlic from the oil. Allow to cool completely.
-
Add the fried garlic to your favorite dishes. Use the garlic-infused oil in stir-fries, sauces or dressings.
-
Store the fried garlic in an air-tight jar in the fridge for up to 3 months. Store the garlic oil at room temperature for up to one month.
Notes, Tips & Tricks
- Use any vegetable oil you like. I prefer canola oil because it's mild-tasting. Olive oil is delicious too.
- Once the oil starts bubbling, the garlic browns quickly. Fry just until the garlic is lightly golden and turn off the heat. The hot oil will continue frying the garlic into a golden brown.
Here are some yummy Viet dishes to enjoy homemade Fried Garlic (Toi Phi).
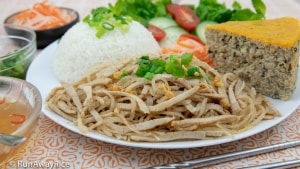
Shredded Pork Skin (Bi Heo)

Savory Sticky Rice (Xoi Man)

Sour Soup with Fish (Canh Chua Ca)

Sauteed Summer Corn and Fresh Shrimp (Bap Xao Tom)
If you enjoy this Fried Garlic (Toi Phi) recipe, you may also like:


I made this with fresh garlic from my garden and it didn’t work. Next time, I will be sure to use cured garlic. The oil is delicious, though!
Hi. Tried and it turned out perfectly. I didn’t burn it following you instructions. Thanks for the recipe. Can you do a video on fried shallots? I tried and they were soggy.
Hi Kim,
That’s wonderful to hear your fried garlic was perfect! Good job! Yes, I could do a video on fried shallots. It’s just as easy. I’ll add your request to the list for upcoming videos. 🙂
Do you keep fried garlic and oil together.. and why.. ?
Thanks.
Dear co^ Trang,
The fried garlic very delicious, and easy to make.
Thank you for your new recipe.
Best regard,
Hoa
Hello Hoa,
I am happy to hear you enjoyed the recipe and it was easy to make! Thanks for stopping by to share your results. Happy Cooking! 🙂
Hi Hi! I love fried garlic and your recipe is so easy. The garlic oil is a bonus! I used it to stir fry noodles and veggies and it smelled wonderful! Thanks for the recipe!
Hi Haley,
Glad you enjoyed the recipe. I love the garlic oil too. Great idea adding it to the stir-fried noodles. Yum!
I always scorch my garlic so thank you for the tip. May I ask what type of pan you are using? Is it a ceramic nonstick? Thank you
Hi Anh,
Yes, it’s a ceramic non-stick pan. I am glad you like the tips! Enjoy! 🙂