
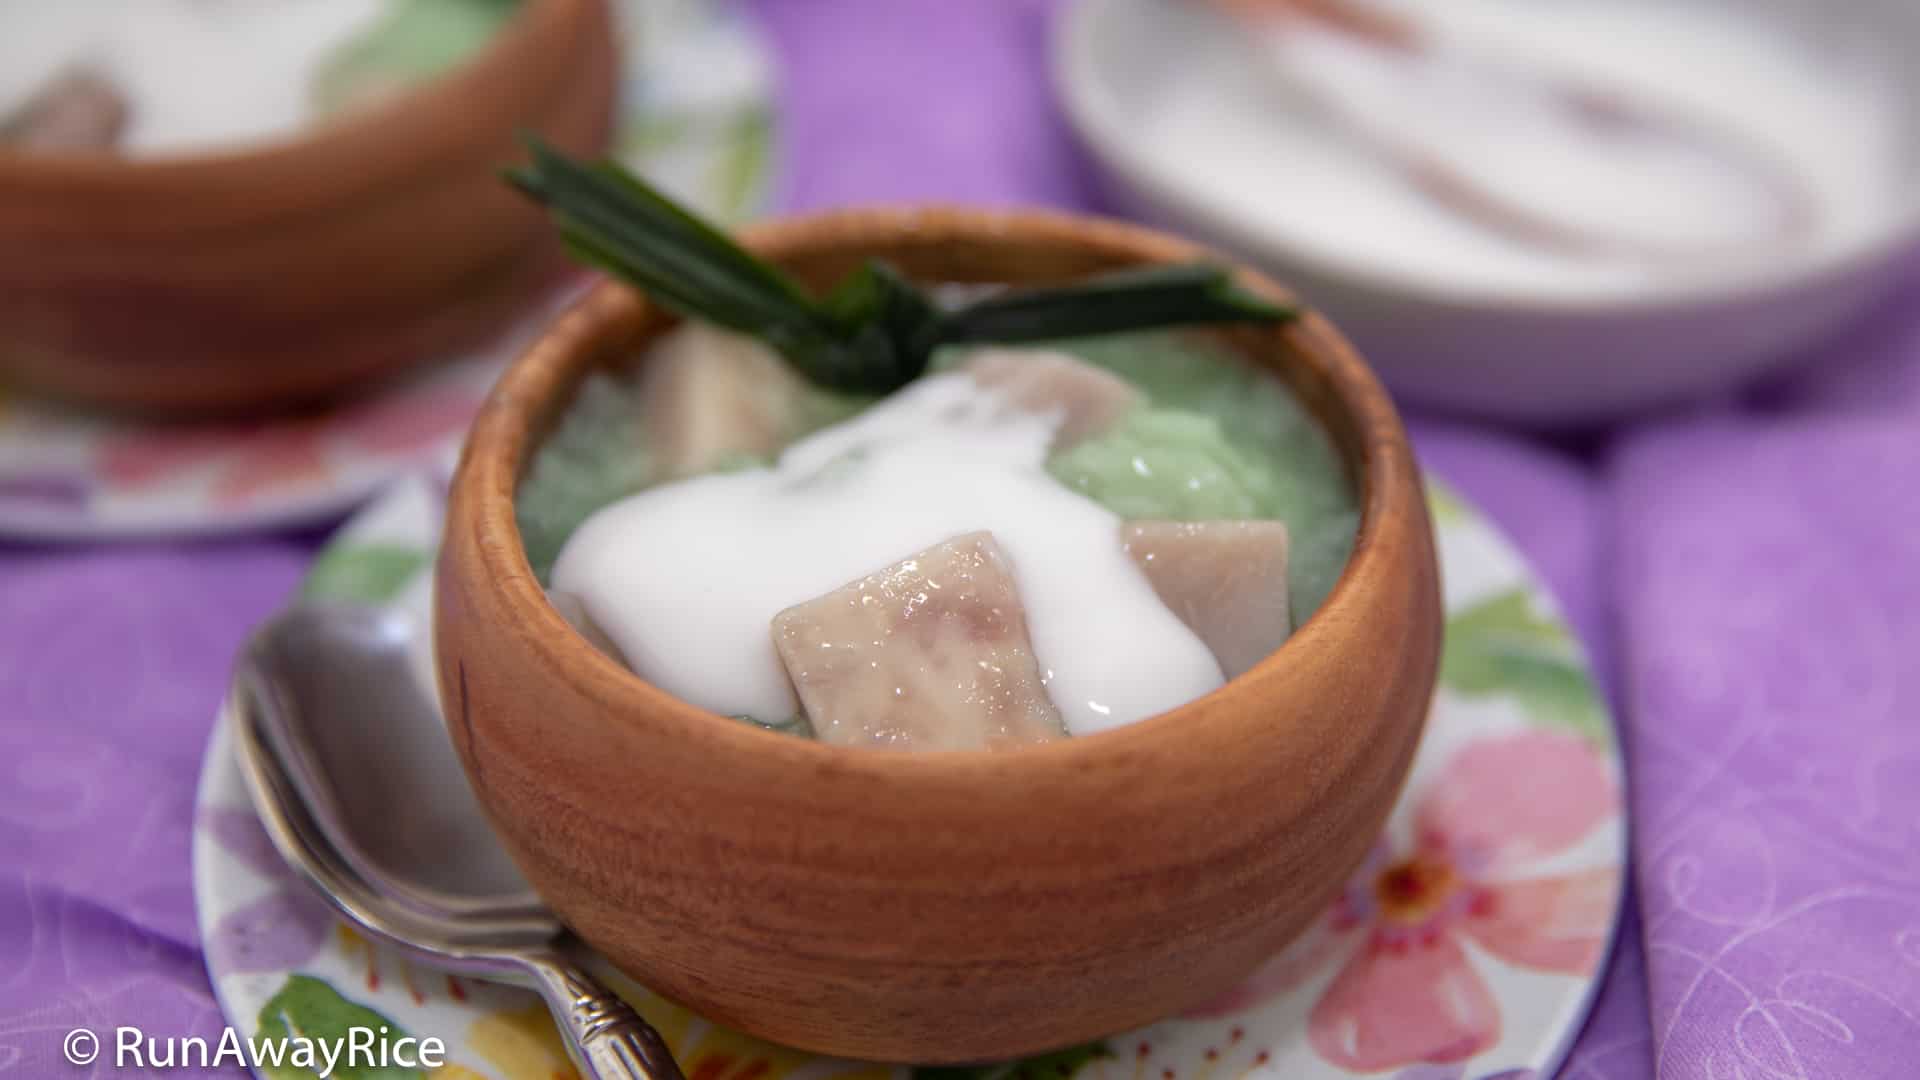
This easy recipe for Taro Pudding (Che Khoai Mon) is for chè lovers! A sweet and hearty pudding of taro root and glutinous rice topped with creamy coconut sauce, it’s a classic Vietnamese dessert. Super yummy and satisfying, the Taro Pudding can be enjoyed hot or cold, making it a versatile year-round dish. I’ve revamped the traditional stove-top recipe and am sharing how to make this sweet treat in the Instant Pot. Give the recipe a try and share your comments with me. Enjoy!
Watch the video for instructions.
Notes on the Taro Pudding (Che Khoai Mon) Recipe, Tips and Tricks
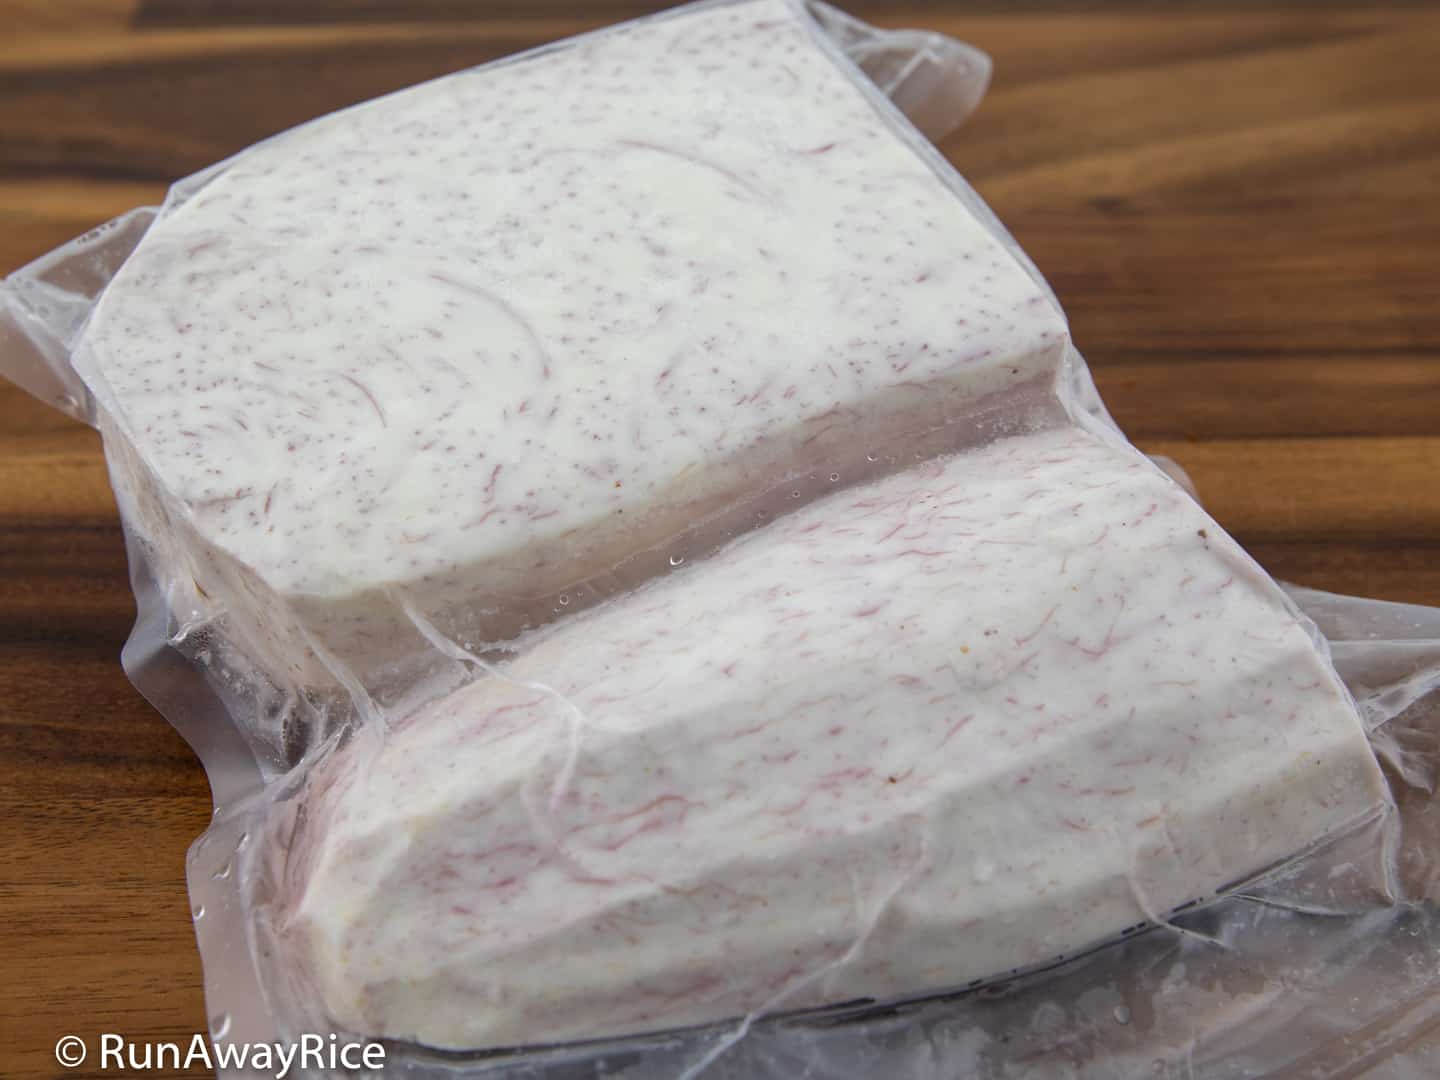
To keep this recipe super easy, I am using peeled taro root purchased from the Asian grocer. The taro skin is removed and the taro root is packaged in ready-to-use chunks. You can find packaged fresh taro in the produce section or frozen taro in the freezer section of your Asian grocery store. If you prefer to use fresh taro, this works too.
Because of the different cooking times, it’s best to cook the taro root separately from the glutinous rice. It takes a bit longer but you’ll be happier with the results. The cooked taro root should be tender but not mushy and over-cooked. The taro chunks should hold their shape in the pudding and not disintegrate when stirred.
This Taro Pudding recipe is suitable for the 6 quart Instant Pot and 8 quart Instant Pot. If making in the 3 quart Instant Pot, cut the recipe in half. The recipe yields approximately 6 cups pudding.
Did you notice I am using my new 6 quart Instant Pot DUO Plus? 🙂 I just love it! Check out my unboxing post when you get a chance and learn more about my new cooker.
One of the success indicators for this recipe is to have fluffy whole rice grains. The grains should be intact and not bloated and broken. The rice portion of the pudding should be soft and delicate while the taro root is mealy and creamy. Avoid over-stirring or mixing the pudding vigorously which may mash the cooked rice and taro root.

I mention this with every dessert recipe: Adjust the sugar to your taste. This dessert has a decent amount of sugar and is sweet, but adjust as desired.
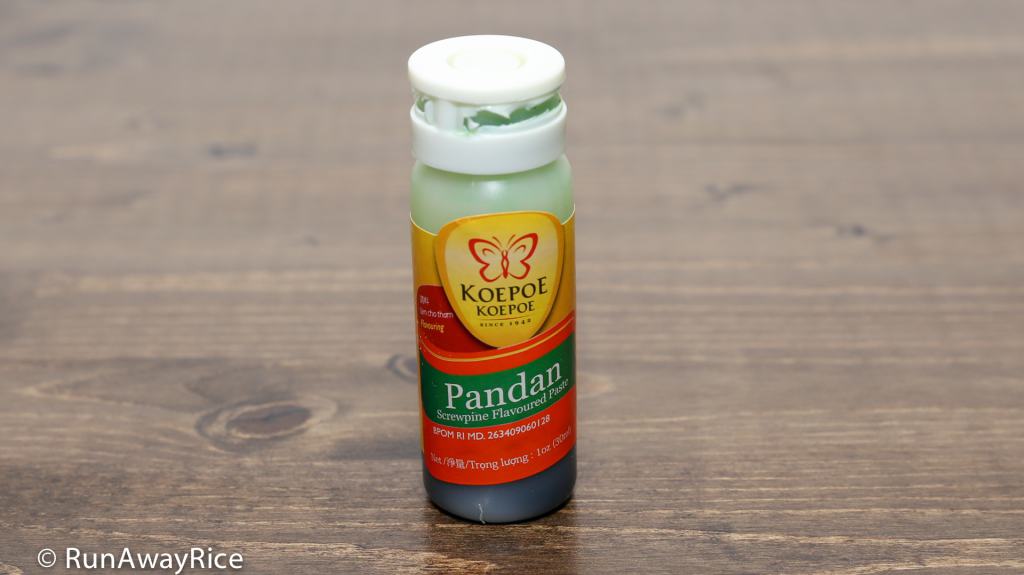
Don’t add too much Pandan paste as it’ll make the Taro Pudding a bright green. I use just a tad. The Pandan color should be light and more on the pastel side. Optionally, use purple food coloring for a gorgeous-looking dessert.
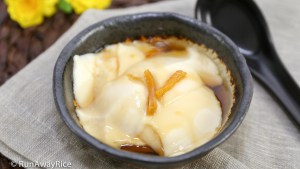
Taro Pudding / Che Khoai Mon

Taro Pudding / Che Khoai Mon
This easy recipe for Taro Pudding (Che Khoai Mon) is for chè lovers! A sweet and hearty pudding of taro root and glutinous rice topped with creamy coconut sauce, it's a classic Vietnamese dessert. Super yummy and satisfying, the Taro Pudding can be enjoyed hot or cold, making it a versatile year-round dish. I've revamped the traditional stove-top recipe and am sharing how to make this sweet treat in the Instant Pot. Give the recipe a try and share your comments with me. Enjoy!
Ingredients
Pudding
- 1 lb taro root, peeled , previously frozen and thawed
- 3/4 cup glutinous / sweet rice , long grain
- 4 cups water
- 1/4 tsp salt
- 2-3 Pandan leaves , washed
- 2/3 cup sugar
- 2 tsp vanilla sugar or 1/2 tsp vanilla extract
- 1/8 tsp Pandan paste
Thickener
- 1 Tbsp tapioca starch
- 2 Tbsp water
Coconut Sauce
- 3/4 cup coconut milk
- 3/4 cup water
- 1 Tbsp sugar
- 1 Tbsp tapioca starch
- 1/4 tsp salt
Instructions
Cooking the Taro Root
-
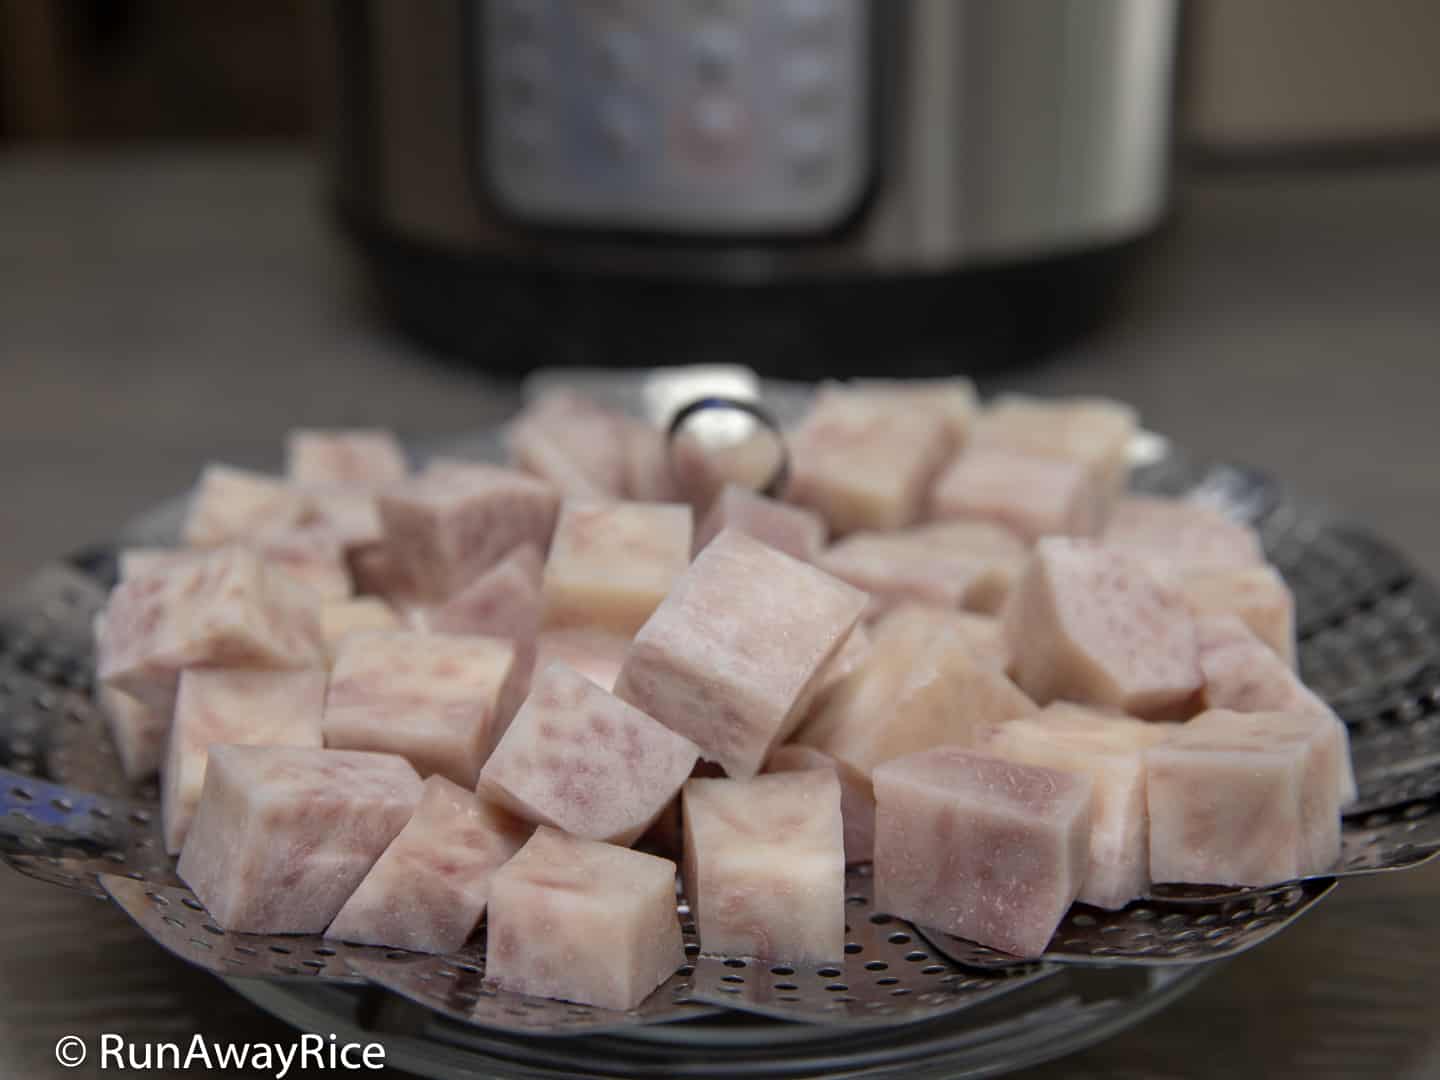
Rinse the taro root with cold water. Pat dry with a towel. Cut the taro root into cubes about 3/4 inch thick.
-
Transfer the cut taro root into a steamer basket.
-
Add 1 cup hot water into the inner pot of a 6 quart Instant Pot. Place the steamer basket with the taro root inside the inner pot. Cover with the pressure cooker lid. Set the steam release handle to 'Sealing'. Set to High pressure cook for 1 minute.
-
After the cook time is completed, manually release the pressure. Remove the steamer basket with the cooked taro root and set aside for now.
-
Wash and dry the inner pot and return into the multi-cooker.
Cooking the Pudding
-
Wash the glutinous rice by swirling in cold water for 30 seconds and then pouring out the rinse water. Repeat these steps 1-2 more times or until the water is mostly clear.
-
Transfer the washed rice into the inner pot. Add the salt and 4 cups water. Use a spatula or spoon to even out the rice in the pot.
-
Fold the Pandan leaves and tie into a bundle. Place into the inner pot.
-
Cover with the pressure cooker lid. Set the steam release handle to 'Sealing'. Set to High pressure cook for 5 minutes.
-
After the cook time is completed, manually release the pressure. Remove the Pandan leaves and discard.
-
Add the sugar and vanilla sugar (or 1/2 tsp vanilla extract) to the cooked glutinous rice. Gently combine together. Add the Pandan paste and combine together. Add the cooked taro root (prepared earlier) and gently combine together.
-
Make the thickener by combining the tapioca starch and water. Stir the mixture until smooth. Add to the pudding and gently combine together.
-
Press the Sauté button selecting the "Less" or lowest heat setting. Warm the Taro Pudding until it just starts to bubble, approximately 2-3 minutes, and then cancel the Sauté mode.
Making the Coconut Sauce
-
In a small saucepan, combine the coconut milk, water, sugar, tapioca starch and salt. Whisk together combining everything well.
-
Heat the mixture over Medium heat, stirring occasionally to prevent burning. When the sauce starts to boil, approximately 3-4 minutes, turn off the heat. Continue stirring for 1 more minute letting the sauce thicken. Transfer into a small bowl.
Serving the Taro Pudding
-
Transfer a generous of the Taro Pudding into a dessert bowl. Drizzle some coconut sauce on top. Enjoy the Taro Pudding hot or cold.
-
Store any remaining portions in the refrigerator. Enjoy within 3-4 days.
Recipe Video
Notes, Tips & Tricks
- This Taro Pudding recipe is suitable for the 6 quart Instant Pot and 8 quart Instant Pot. If making in the 3 quart Instant Pot, cut the recipe in half. The recipe yields approximately 6 cups pudding.
- Avoid over-stirring or mixing the pudding vigorously which may mash the cooked taro root and rice.
- Adjust the sugar to your taste. This dessert has a decent amount of sugar and is sweet but adjust as desired.
- Don't add too much Pandan paste as it'll make the Taro Pudding a bright green. Use just a tad. The Pandan color should be light and more on the pastel side. Optionally, use purple food coloring for a gorgeous-looking dessert.
If you enjoy this Taro Pudding (Che Khoai Mi) recipe, you may also like:

Rice Pudding with Black-Eyed Peas
(Che Dau Trang)
Tofu Pudding with Ginger Syrup
(Dau Hu Nuoc Duong / Tau Pho)

Tools I Love and Use in My Kitchen
Hi Trang, thanks to you I’ve become a much better cook of Vietnamese dishes for family and friends. I’ve been a big fan of the Instant Pot so your recipes roll into my kitchen so effortlessly. Love your step-by-step instructions, and your videos clarifying the cooking techniques further. I’ve tried mostly desserts, and the Chè khoai môn nước dừa was so easy to make with such good flavor and texture. I doubled the recipe without a hitch.
Cảm ơn Trang nhiều lắm!!
Hiếu
Delicious! Instead of the Instant Pot (which I do not have) I cooked the rice pudding over the stove for about 20 minutes with occasional stirring, then another 5 minutes after adding the taro cubes. I also substituted pandan paste for ube flavoring (since I did not have any at home) which gave it that nice pastel purple that everyone associates taro with. I will definitely re-try this recipe again in the future when I get an Instant Pot and I will make sure to not forget to buy my pandan haha :D!
Hi…I would love to try and make this recipe but I do not have an instant pot. How would I adapt this recipe to make it in a regular pot?
Hi! My fav che, I always buy the little cups at Viet grocery store and had no idea how easy it is to make. Your Instant Pot recipe is fool-proof for kitchen novice like me. So simple and so yummy. I love the coconut sauce too and will use it for other desserts. Thanks so much for sharing this recipe! 🙂
Hi Whitney,
Glad to hear you like this recipe and enjoy cooking with the Instant Pot! The coconut sauce is wonderful and goes with everything! 🙂
Do you need to soak the rice overnight?
It’s not necessary.